Today’s guide is a step-by-step walkthrough on how to crop a video on Windows 10 & 11.
There are numerous rationales behind cropping a video. You might want to eliminate unwanted elements within your video frame or direct attention to a specific area. For instance, you might need to crop your video to remove a distracting background, thereby enhancing the viewer’s focus on the subject. Alternatively, you might want to spotlight a dialogue or action taking place in a part of the video, allowing your audience to fully appreciate it without distractions.
Also, some social media platforms require your videos to have specific dimensions, and if not for the availability of aspect ratio tools, sometimes you might have to manually crop your videos to suit every platform’s video-sharing standards.
Cropping videos is such an easy task, but a lot of newbies tend to have a hard time figuring out the difference between cropping, trimming, and splitting!
So, before we jump into the steps involved in cropping your videos, let’s quickly differentiate between crop, trim, and split.
Contents
The Difference between Crop, Trim, and Split
Crop, Trim, and Split are all used to get rid of unwanted elements in our videos. However, there are a few fundamental differences between all three of them.
Cropping allows you to eliminate (crop out) elements on the top, bottom, left, and right corners of your video clips. Thus, with cropping, you’re changing not just the perspective or impression of a video but also its overall composition.
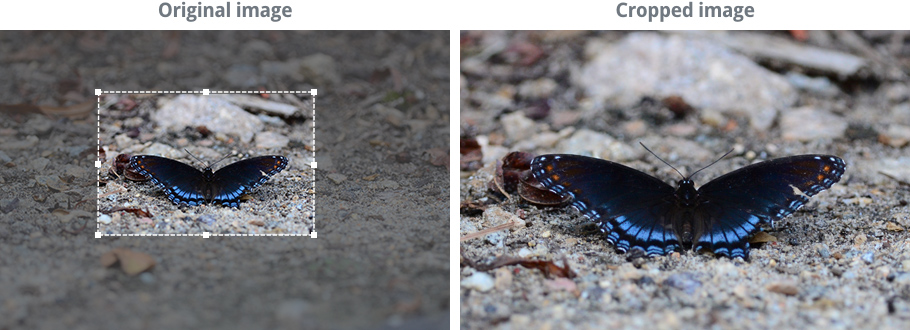
In the image above, cropping was used to eliminate unwanted visuals in the background to lay more emphasis on the butterfly.
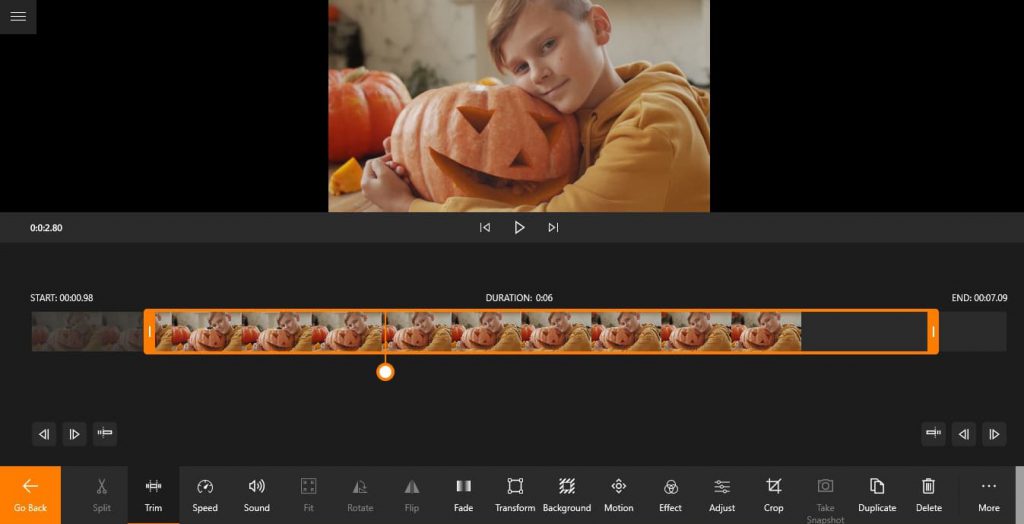
Trimming allows you to eliminate (trim) unwanted content at the beginning or ending part of your video clip. This is a more straightforward procedure and is used more often than cropping. If you’re vlogging and have captured some extra footage at the end of your video, trimming is the best way to get rid of that fluffy part.
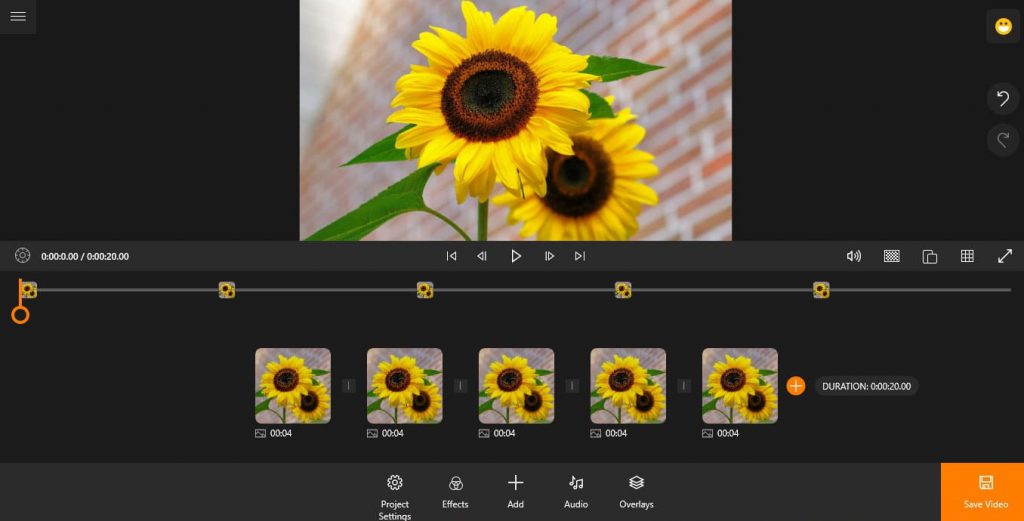
Splitting, on its own part, allows you to divide (split) your videos into different sections. With splitting, you’re not necessarily getting rid of any section of the video. You’re basically dividing the clips into different fragments so you can edit them individually.
Splitting is particularly used in more complex post-production projects where there are several cuts in between shoots. This allows editors to break out and delete unwanted parts, refine necessary scenes, and generally improve the individual quality of every shot.
Here’s a guide on how to trim, split, and merge your videos.
So, with all that out of the way, let’s get to the meat of this guide!
How to Crop Your Videos with Animotica
While trimming and splitting are quite common features, even with free video editors, cropping tools are not that easy to come by. Windows Movie Maker and its replacement, Microsoft Photos, both failed to provide this basic feature. The only way to get around this limitation while using these apps is to zoom the clip until it focuses on your chosen subject, but this is not as convenient as a proper cropping tool.
Fortunately, Animotica, just like other top-notch video editing software, comes with cropping tools that allow you to crop any video easily. Here is the direct link to download Animotica.?

So, how do you crop videos on Windows 10 & 11 using Animotica?
It’s very straightforward, but we’ll show you how!
Step 1: Install and Launch Animotica
If you haven’t done so already, go ahead and download and install Animotica for free here. Once installed, launch the app. At first glance, the interface may seem intimidating, with various options and menus. Don’t worry! We’re here to break it all down. Essentially, the main interface will provide you with options to create or edit videos, and once you select a video, you’ll be presented with customization options such as cutting, cropping, rotating, and more. Now, you’re all set to start cropping your videos!
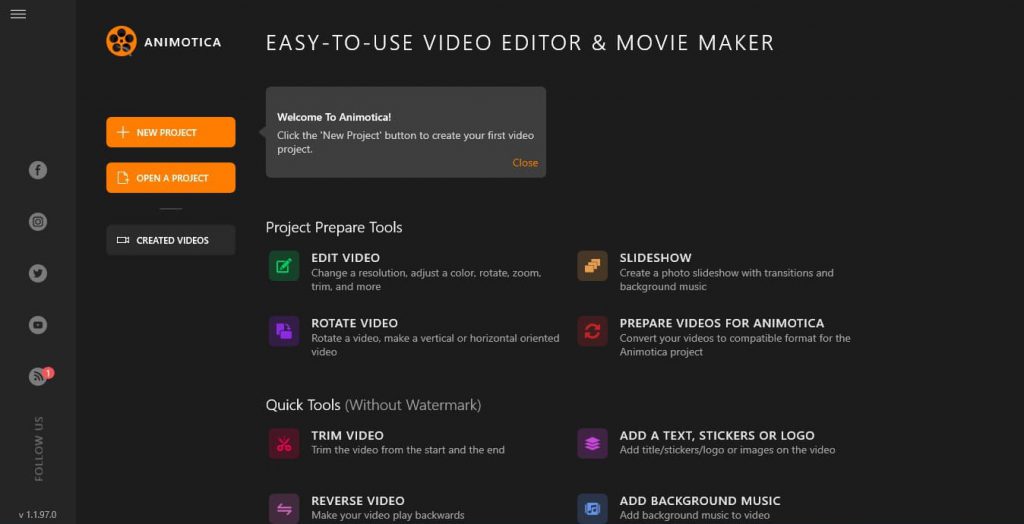
Step 2: Select Edit Video
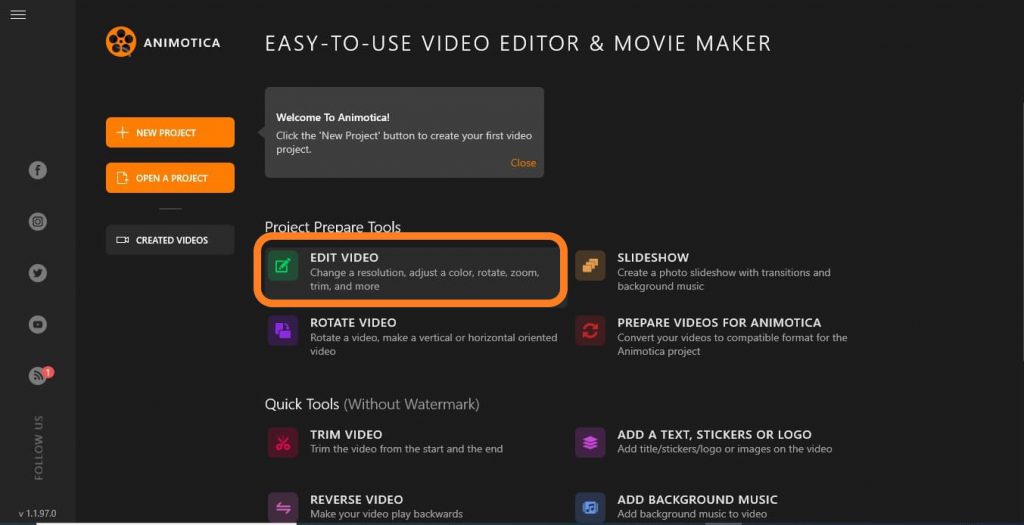
Once you’ve successfully launched Animotica, you should see a home screen with a set of options. Under Project Prepare Tools, select Edit Video.
On the new page, click on Select A Video File, navigate to where you’ve stored your video, select the video, and tap on Open to upload it.
Once the video has been successfully uploaded, you would be taken to the project window where you can now crop your video.
Step 3: Crop Your Video
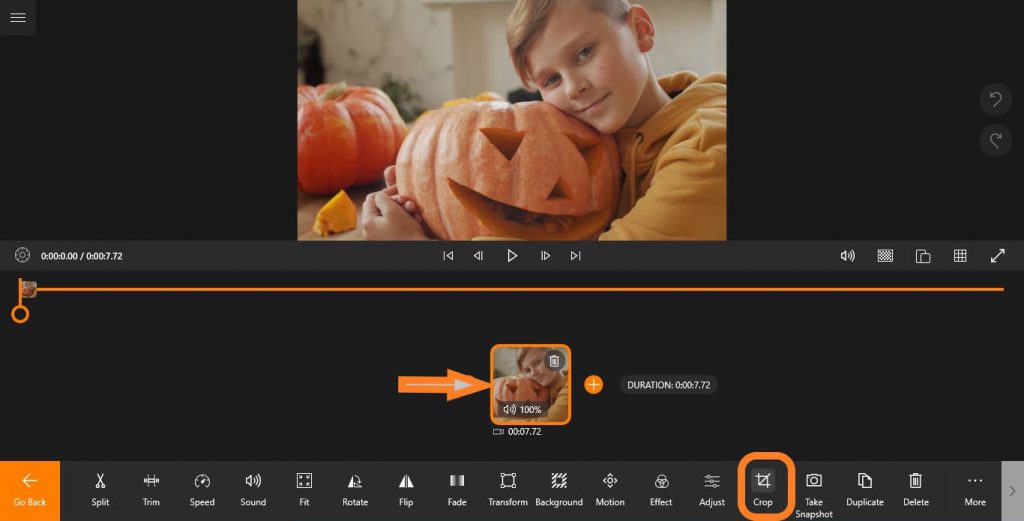
To begin, tap on the video thumbnail to reveal a set of editing options. From these options, locate and select Crop.
This will open up a popup window where you can crop the top and bottom as well as the left and right corners of your video frame.
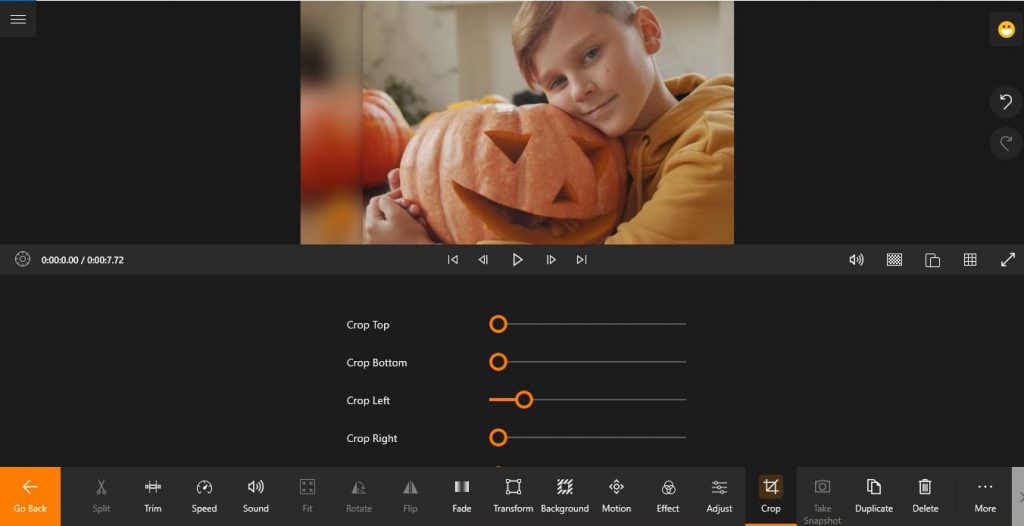
To adjust what part of your video you want to be cropped, you can conveniently use the crop sliders appearing on your screen. Simply click on a slider and, while holding down the mouse button, drag it to change the cropping borders.
Step 4: Refine the Cropped Video
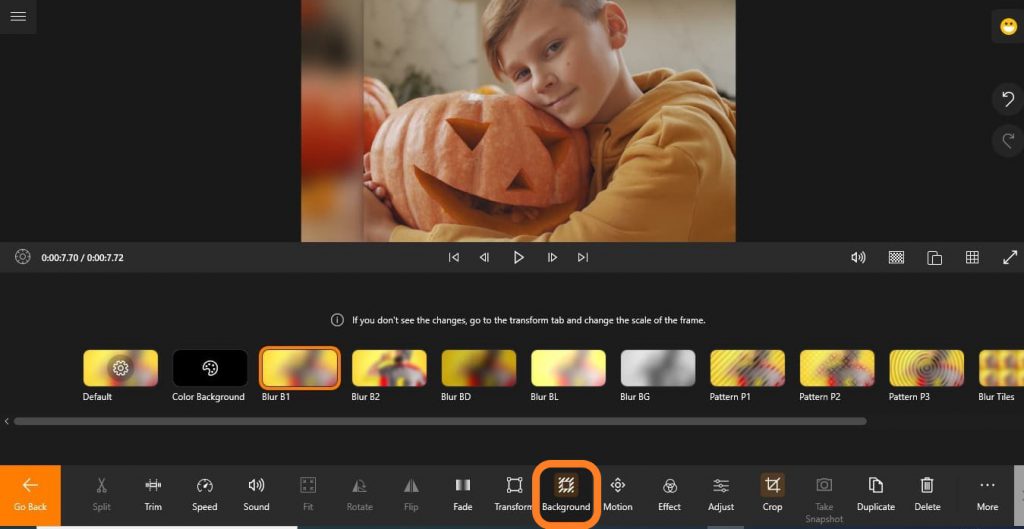
After cropping your video frame, you should notice that a blurred background has replaced the cropped area. You can replace the blurred background with a solid color or a different blur pattern using the Background settings. Here’s a more detailed guide on how to change your video’s background.
Also, you can adjust the position of the frame to balance out the cropped area and the background using the Transform settings.
The Transform settings consist of four sliders: Scale, Horizon, Horizontal Offset, and Vertical Offset.
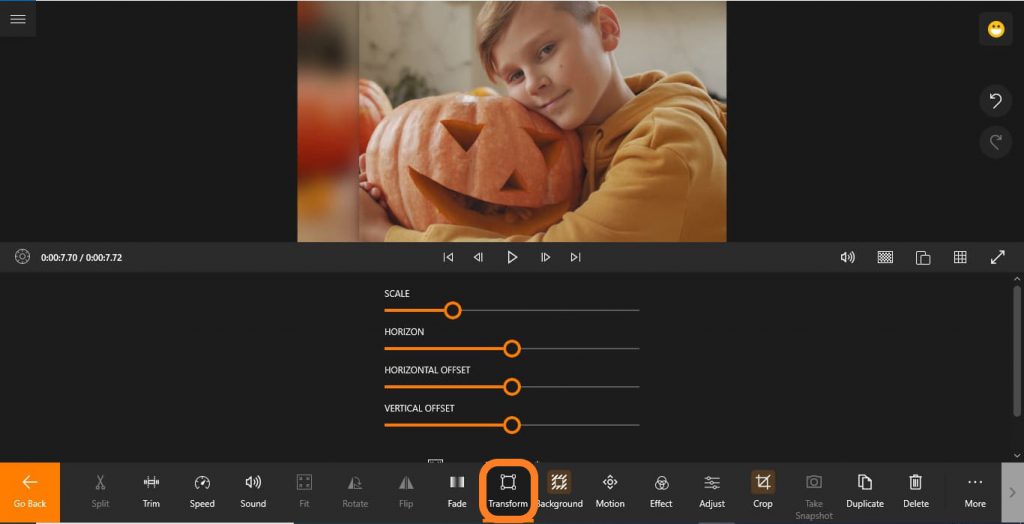
To move your frame vertically, you can use the Vertical Offset slider. To move your frame horizontally, you can use the Horizontal Offset slider. The Scale allows you to zoom in or zoom out on your video frame to cover or reveal the background completely. Horizon allows you to rotate the frame in any direction.
Feel free to play around with these settings and see what you can come up with!
Step 5: Save your Video
Now that you’ve completed your cropping task, you can now save your video. To proceed, hit on Save Video. On the new window, you can adjust the Video Resolution and Bitrate.
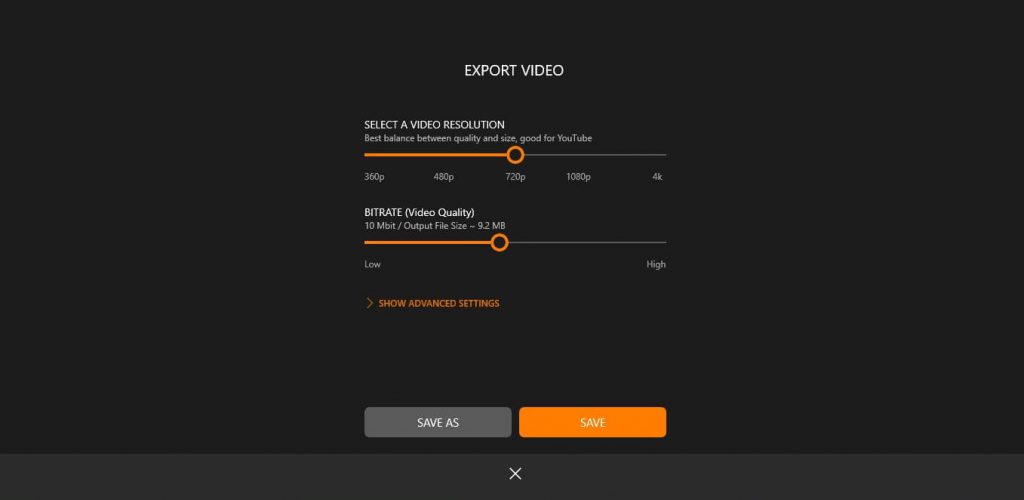
While Animotica automatically adjusts the video resolution and bitrate to strike the best balance between quality, size, and export speed, it’s worth mentioning that you, as the user, have the flexibility to tweak these settings according to your specific needs or preferences.
Hit Save As. You would be prompted to input a filename. Afterward, hit Save.
Now, you can just sit back and let Animotica take care of the rest!
How to Crop a Video on Windows 10 & 11 – Video Tutorial
Let’s put all these instructions into a visual format, shall we? For those who prefer learning by watching, we’ve put together a detailed video tutorial. This guide will illustrate each step in a manageable, easy-to-follow way. Are you ready to transform your video editing skills? Let’s dive right into it.
Conclusion
Giving you control over your video content, cropping allows for precision, personalization, and professionalism in your projects. If you’ve been following our guide closely, you should now know not only the difference between cropping, trimming, and splitting but also how to crop videos effectively using Animotica on your Windows 10 or 11 device.
Feel that sense of accomplishment? You’ve just added a new skill to your toolkit. But don’t stop here—explore other video editing features to broaden your expertise and creativity. Every tool you master takes you one step closer to the perfect final edit.
Remember, practice makes perfect, and we’re here to help you on your journey to becoming a proficient video editor. If you have further questions regarding your video editing journey, or if you have any comments or suggestions, feel free to share them in the comments section below. We appreciate your feedback!
Here’s to you and your video editing success. Cheers!