
Have you ever been hooked by some gracefully moving landscapes and animated photographs from your favorite documentaries? Ever wondered what technique is used to give life to still images and how you can apply this in your videos and slideshows?
Indeed, what you see in these documentaries are known as the Ken Burns effects, kinestases, or pan and zoom effects, and we will be going over how to create the Ken Burns effect in videos and slideshows!
So, just in case you’ve not heard of it, we will try to reveal all you need to know about the Ken Burns effect.
Here we go.
Contents
What is a Ken Burns Effect?
A Ken Burns effect is a visual manipulation in videography which uses panning and zooming to give motion to static images.
As you’d probably guessed, this visual effect was named after Ken Burns, an American documentarian who applied the pan and zoom effect to 3000 still images! This effect is most useful in documentaries and documentary-style videos when still images are the only available resources. A typical Ken Burns effects involve a still image sweeping from left to right and zooming in on specific elements.
You’re probably wondering: what’s panning and zooming?
With respect to Ken Burns effect, panning is simply the process of moving the focus of images from left to right, up to down, and vice versa. On the other hand, zooming is simply the process of adjusting the distance of an object on the screen. With zooming, you can either bring the object closer or view it further away.
With all that said, to use Ken Burns effect in your video, you don’t need to be a rocket scientist. You only need a decent video editor, along with a simple guide. Fortunately, in this blog, you will be getting both!
Animotica’s Easy-to-Use Pan and Zoom tools for Ken Burns Effect
Animotica, our flagship video editor, packs a solid set of twelve pan and zoom effects, along with custom settings, to enable you to tell a vivid story that effectively captures your audience’s visual interest.
In this section, we will introduce them to you. Sounds good? Let’s right jump into it!
Zoom In Center
This effect gradually brings the view closer to the screen to give you a progressively clearer view of the elements in the picture.

Zoom Out Center
Just the opposite of the former, this effect gradually takes the view further away from the screen, slowly giving you the feeling of viewing an object from a distance.

Zoom in Left
This effect progressively zooms in on your image while moving (panning) the view to the left.

Zoom In Right
This effect progressively zooms in on your image while panning the view to the right.

Zoom Out Left
This gradually zooms out on your image while panning the view to the left.

Zoom Out Right
Slowly zooms out on your image while panning the view to the right.
Pan Left
Progressively moves your view to the left.
Pan Right
Progressively moves your view to the right.

Pan Up
This effect slowly moves the view towards the elements at the top within the still image. It gives the illusion that the elements within the image are sinking.

Pan Down
Slowly moves the view towards the elements at the bottom of the photograph, giving the illusion of floating objects or persons.

Rotate Left
This is a fun, extra effect within this collection. It slowly spins your image from a leftward tilt while zooming out on it.
Rotate Right
This, unlike the former, slowly spins your image from a rightward tilt while zooming out on it as it balances back to its horizontal position.
Custom Settings
With Animotica’s motion custom settings, you can pan and zoom on your own terms. It has several options ranging from Scale to Vertical Offset. Also, this setting has a Start and End subsection. You’ll learn how to use them soon enough.
The Scale option is used to zoom in and zoom out on the image.
The Horizon option is used to rotate the image.
The Horizontal Offset option is used to pan the image to the left or right.
The Vertical Offset option is used to pan the image to the top or bottom.
You can play around with these to see how it works.
So, there you have it! But with all these in your hands, how do you do the Ken Burns effect in your videos and slideshows? In other words, how do you use pan and zoom effects in your videos?
Let’s get to the steps right away!
How to Pan and Zoom in your Videos in Four Quick Steps
Just before we proceed, if you have not installed Animotica, what are you waiting for?! It costs you absolutely nothing to install (well, except some memory space in your Windows 10 PC).
Download it and use it for free to see how cool it is, and if you’d eventually like to get your hands on the advanced features of the pro version, you can do that for a decent price!
With all that said, let’s hop into the steps!
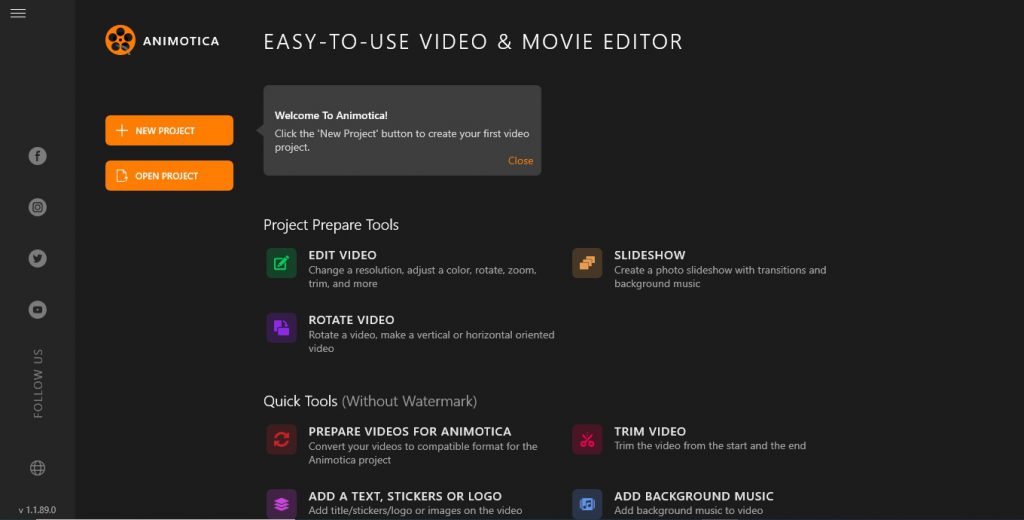
Step1: Create a New Project
Open your Animotica and hit on New Project. It will take you straight to the project window where the magic happens!
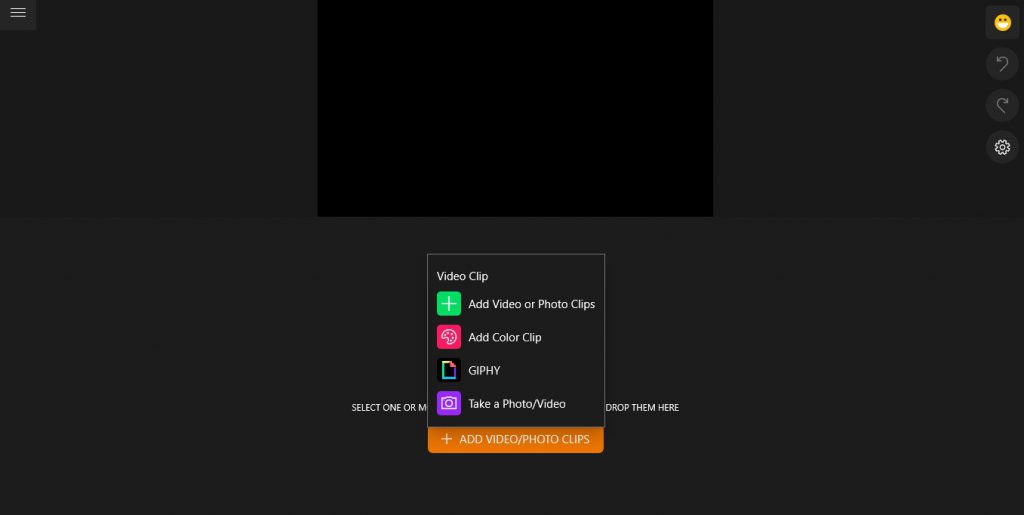
Step 2: Upload your Files
To upload your files, simply hit on Add Video/Photo Clips. On the pop-up, please select the same option. This will lead you to your storage area, so you can navigate to where you have your files stored, select them, and hit Open.
Step 3: Add Your Pan and Zoom (Ken Burns) Effect!
Click on the clip just under the preview screen to reveal a set of editing options.
Select Motion.
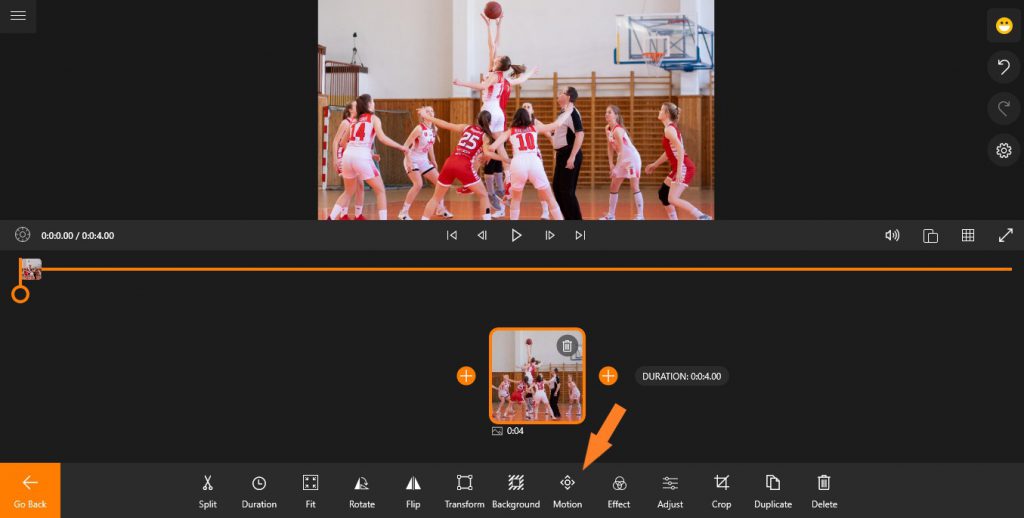
This shows you the pan and zoom effects we just described in the previous section. Now’s the time to try them out and see what works best for you!
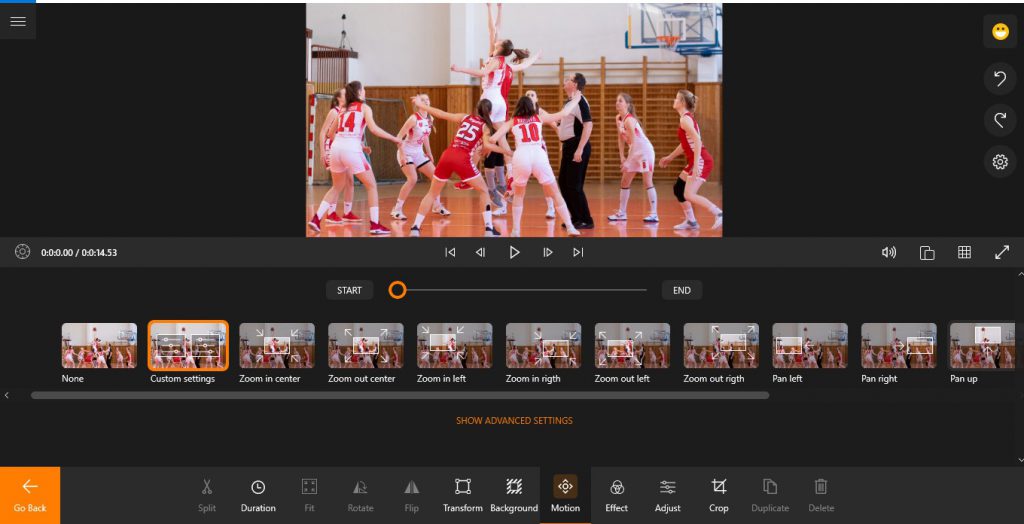
Also, you can always tweak each of these effects by clicking Show Advanced Settings.
This will reveal the custom settings we talked about in the previous section. You can adjust the scale, along with the horizontal and vertical offsets for both starting and ending points of your effect.
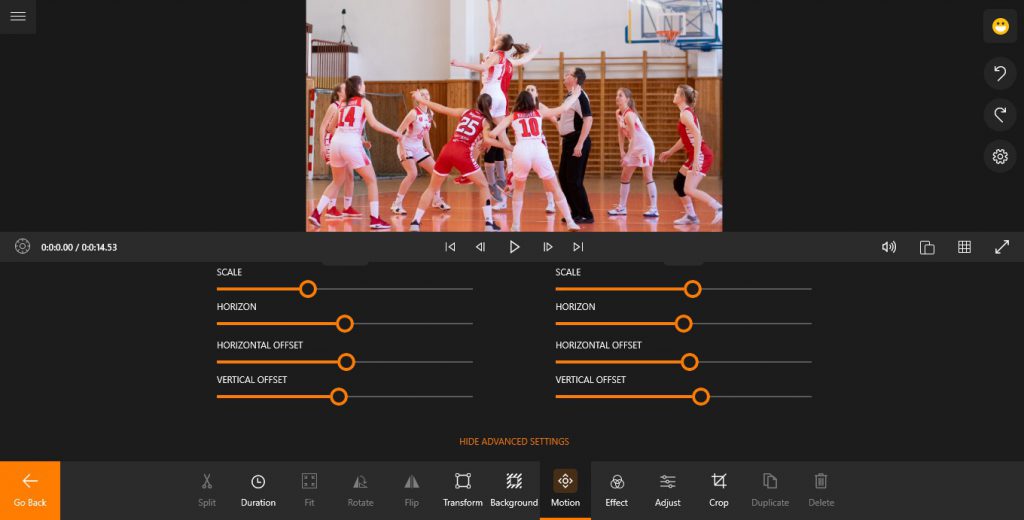
Just play around with these and see what you can do!
Step 4: Save Your Video
When you’re done, you can proceed to saving your project. Hit Save. This takes you to the export page. You can adjust the video resolution and quality, but it’s advisable to leave it at the default setting if you’d want an optimized export speed and quality.
Navigate to Save As. This takes you to a window where you can set the desired name for your project. After inputting your desired filename, hit Save.
Voila! You may now take a chill pill and let Animotica take it from here!

Ready to try this now? Awesome, let’s do it, it’s free!
Conclusion
Ken Burns effect is pretty easy to get. It only takes a little bit of practice and creativity. We hope this guide is helpful to you as you use Animotica to create your masterpiece. Let us know if you need a hand with anything, and we’ll be here to attend to you!
Cheers.


2 Comments
I have the full version. And wonder how much videos I can srick in a row. Ia there a place to as for more info or help.
.
Hello! The number of videos you can add to your project is unlimited.