Today, videos are more than just an addition to your strategy—they’re essential. Whether promoting your brand, raising awareness for social causes, or sharing your journey, videos offer a memorable experience for your audience. However, how can you make these videos even more engaging? By adding text! With Animotica, adding text to your videos is easy – right on your PC. Whether you’re a seasoned creator, relatively new to video editing, or a marketer wanting to boost your content’s impact, our guide has got you covered.
- Want to make your videos more engaging and accessible? We can help.
- Need to add branding to your content? Check.
- Looking for a way to add captions, titles, and calls-to-action simply and effectively? Look no further!
This blog post aims to make adding text to your videos with Animotica a breeze. Our goal is to enable you to deftly add text to your videos, taking your content to the next level. Ready to learn? Let’s get to it!
Contents
What are the Benefits of Adding Text to Videos?
Using text in videos is more valuable than you might think. It’s not just about subtitles or captions. Adding well-thought-out text elements to your videos can significantly increase viewer engagement, understanding, and accessibility, making a more significant impact overall. But why is text so crucial in your videos? Let’s dive into the benefits of using text overlays in digital content!
- Accessibility: Adding captions or subtitles to your video content significantly expands your accessibility, making it understandable to people who are hard of hearing. Moreover, since many social media users watch videos with the sound off, text ensures your core message is not lost.
- Clarity and Emphasis: Text can highlight critical information visually, ensuring it isn’t missed even in noisy environments. Complex concepts can be simplified into easily digestible snippets, and calls to action can be spelled out, such as “Subscribe now!” or “Visit our website.”
- Increased Engagement: Strategically incorporating text can boost viewer engagement and enhance content retention. Viewers are more likely to remember information demonstrated visually and in textual format. Moreover, well-designed text overlays can increase the visual appeal of your video.
- Branding: Brand consistency is a significant benefit when you use custom fonts and colors in your text overlays, thus reinforcing your brand identity. Incorporating your brand logo as a text overlay subtly increases brand recognition.
Beyond these core benefits, here are some practical tips for adding text:
- Keep it short and simple: Pick clear, concise language and avoid overly long sentences.
- Placement: Ensure your text contrasts sufficiently against the background to be easily readable.
- Font choice: Go for clear fonts that mesh well with your video’s style.
- Timing: Ensure your text stays onscreen long enough to be read thoroughly.
With these insightful benefits and guidelines, you’re now equipped to engage your audience effectively by adding text to your videos.
How to Add Text to Videos on PC in 7 Steps
Let’s dive into the process that will enable you to fully use text in your videos. Whether you’re a content maker, a digital marketing pro, or a beginner in video editing, adding text to your video shouldn’t be hard. Follow our guide as we show you seven easy steps using Animotica software on your PC. This process is so simple and intuitive that it appears almost magical!
Step 1: Launch Animotica and Create a New Project
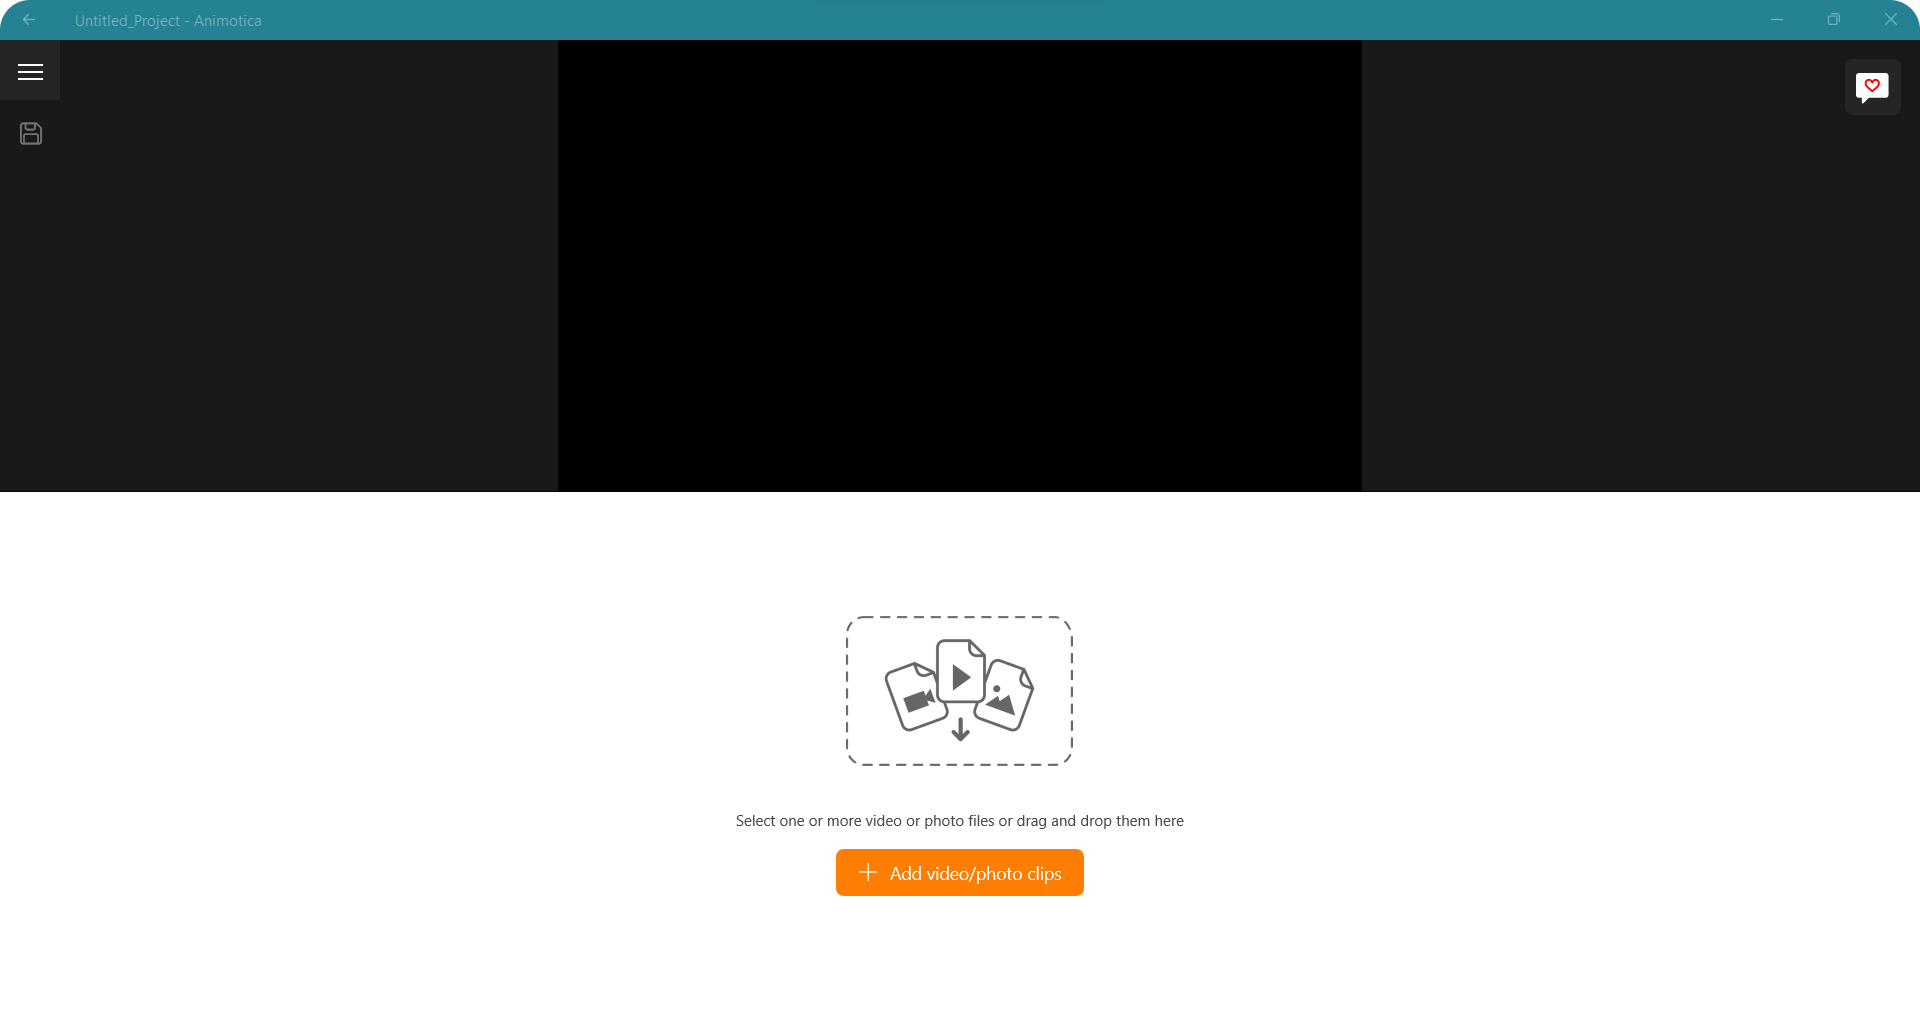
Animotica’s user-friendly interface greets you right from the start. To begin your video blending journey, simply hit the ‘+ New Project’ button at the center of the welcome screen.
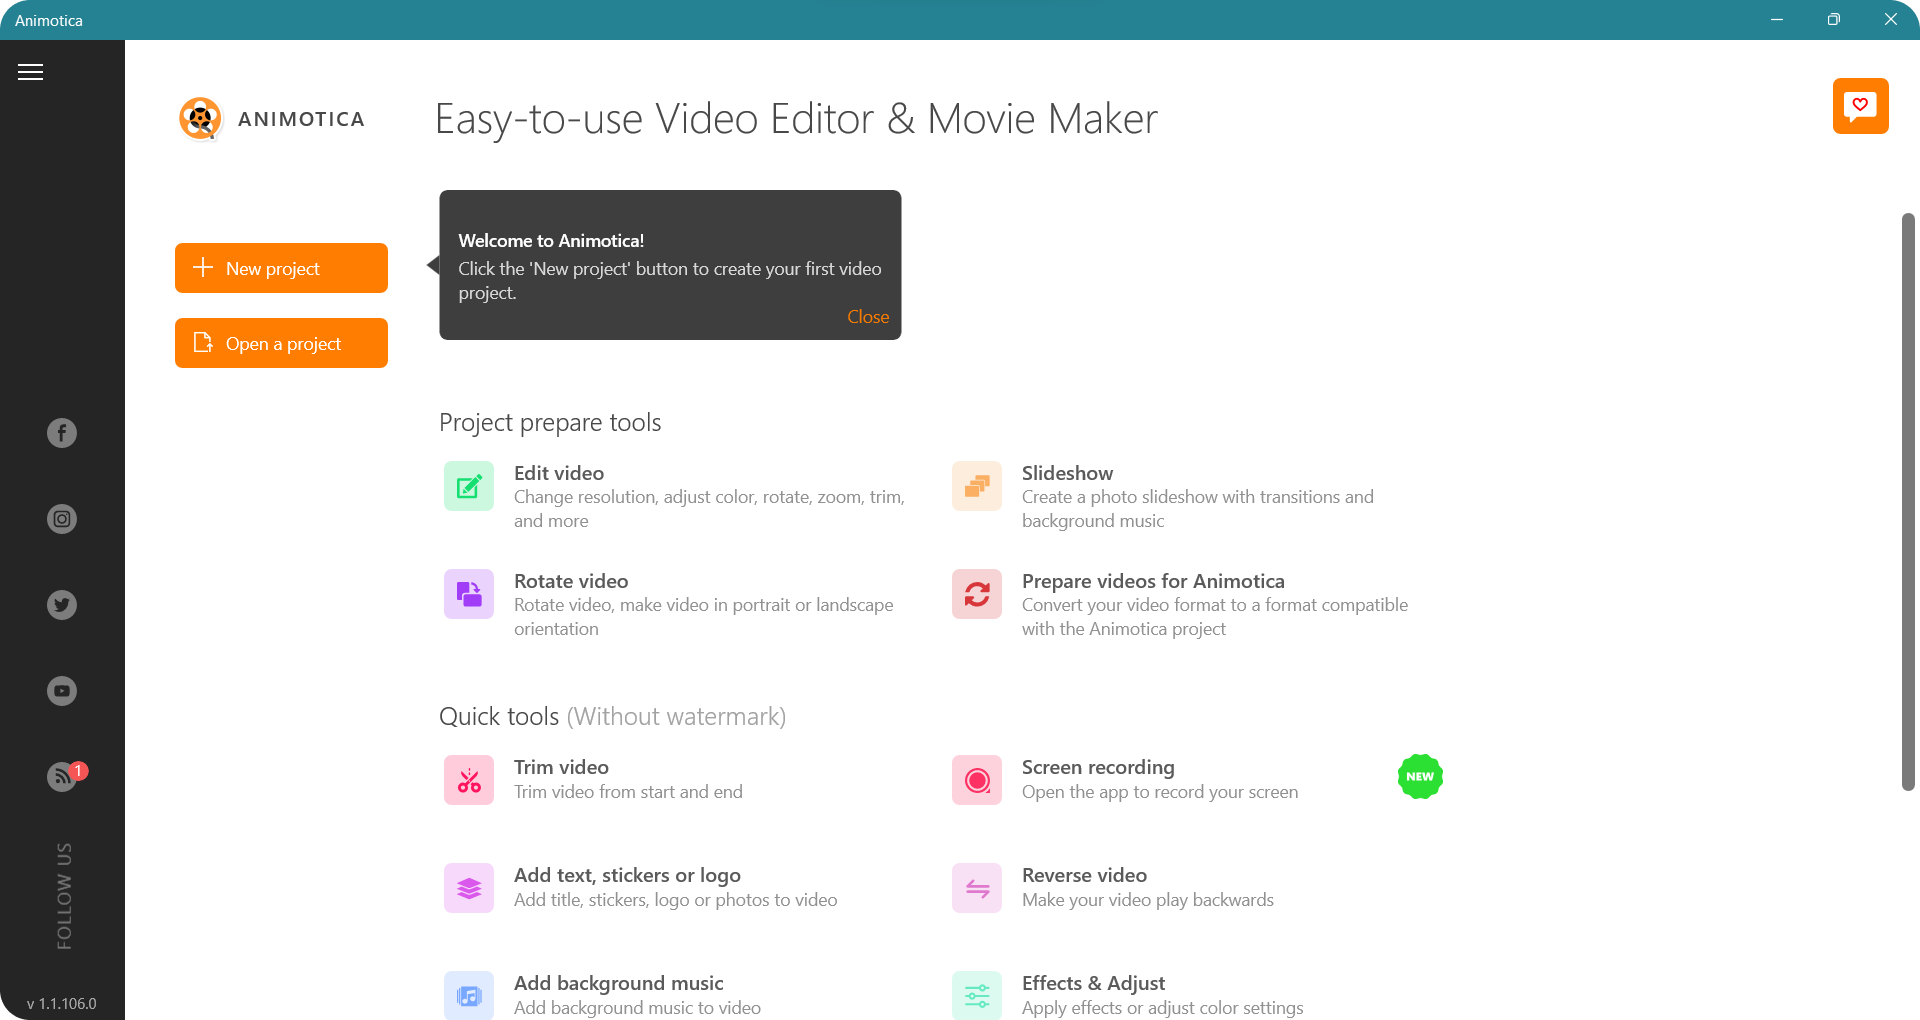
An open, empty workspace awaits you. This new project is a blank canvas, ready for you to add your awe-inspiring video clips.
Step 2: Upload Your Video Clips
Now, let’s plunge deeper into our Animotica guide with the next crucial step – uploading your video clips. The user-centric design of Animotica’s interface ensures uploading your videos is a breeze.
- First, navigate to the ‘Add Video/Photo Clips’ button, strategically placed at the bottom of your project window. Clicking this button will trigger a pop-up window.
- Next, seek out your chosen video clips on your PC. If you wish to select multiple clips at once, simply press and hold the Control key (Ctrl) while clicking on your desired clips.
- Once you’ve picked out your clips, click on the ‘Open’ button. This will instantly populate your project timeline with your selected clips, prepping them for your artistic embellishments.
The project timeline functions as the core of your video project. It’s the space where you can reorganize your clips, alter their order, or fortify your branding by adding a logo overlay.
Pro Tip: To optimize your editing workflow, consider compiling all your necessary video clips into one easy-to-find folder before you start working on your project. This helps make the clip-importing process even more efficient.
Well done! You’ve completed the stage of uploading your video clips onto Animotica.
So, what’s next? Get ready to infuse more charisma into your video tutorial by including a video or photo overlay, rendering a stand-out piece.
Step 3: Add a Text Overlay
After successfully uploading your video clips, the next essential action is incorporating your organization’s logo. This involves attaching a photo overlay of your logo to your video, a task made easy with our video editor tool.
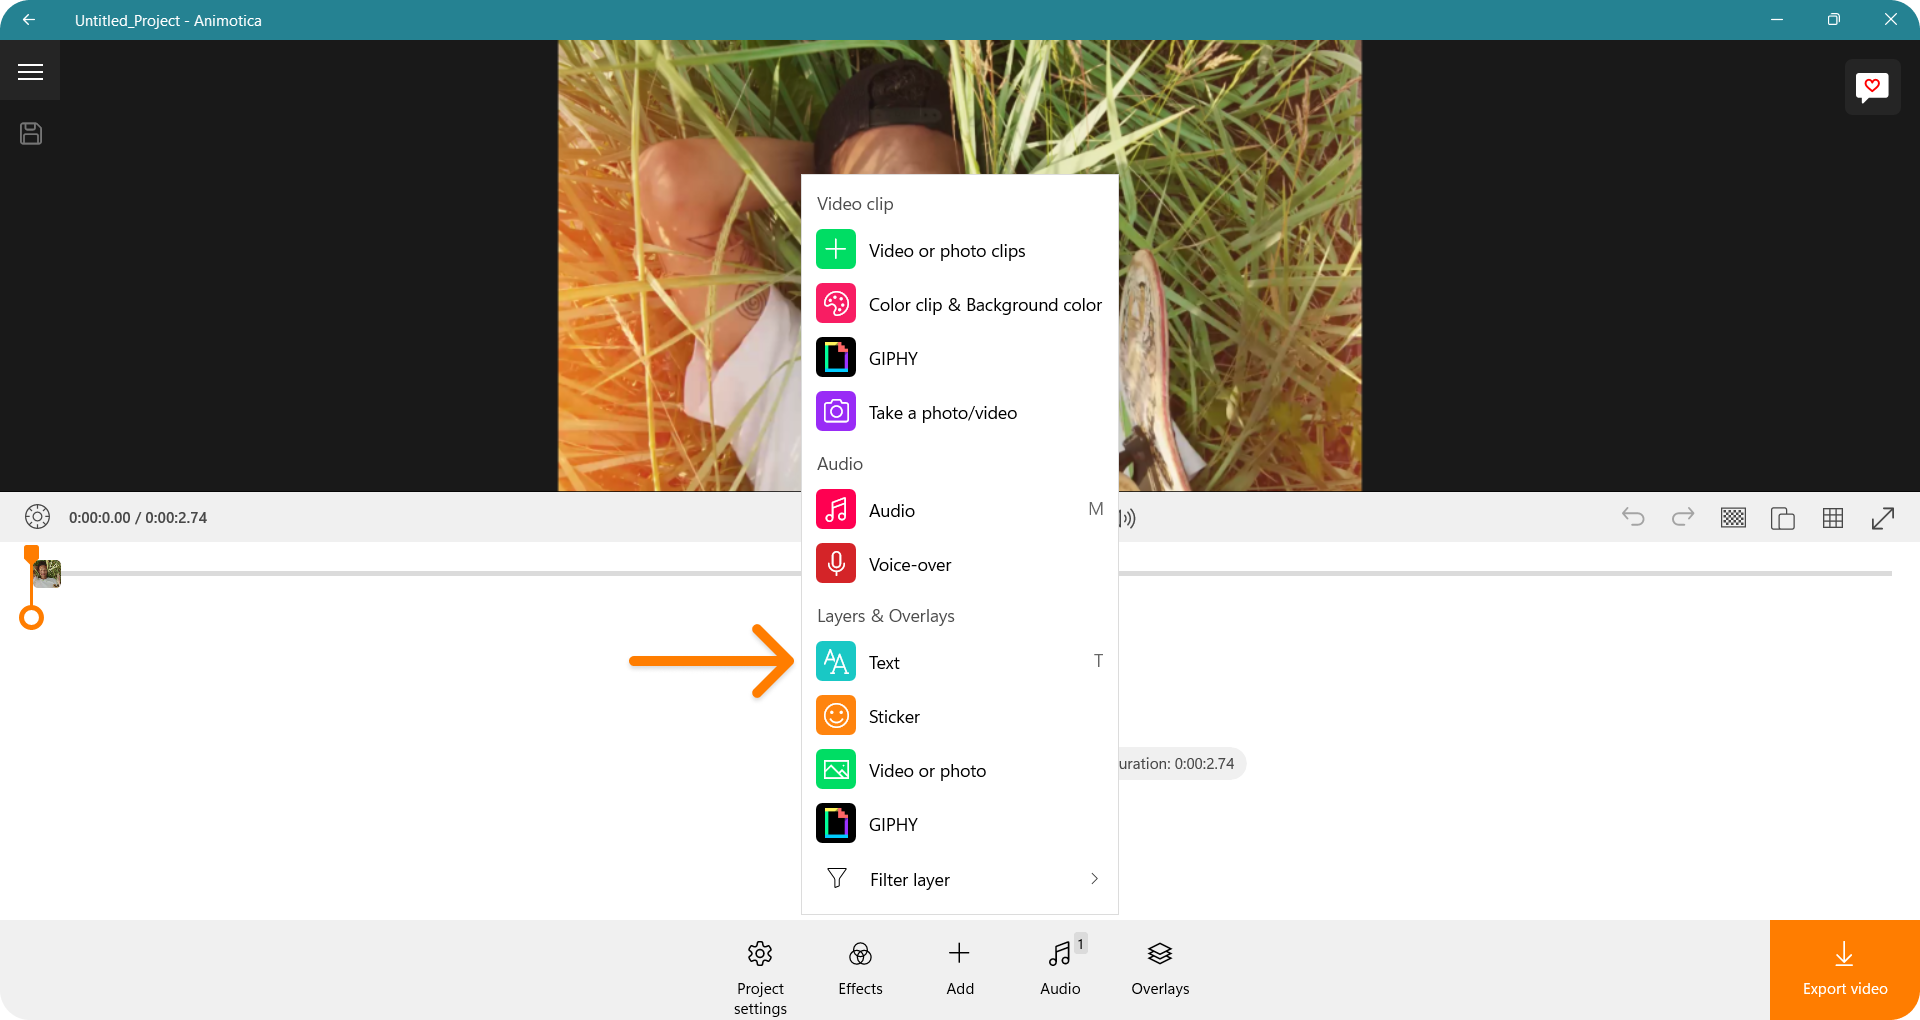
On the editing interface, direct your attention towards the right sidebar, spotting an ‘Add’ button. When you do so, a set of options will pop up. Select ‘Text’ to add a text overlay to your video.
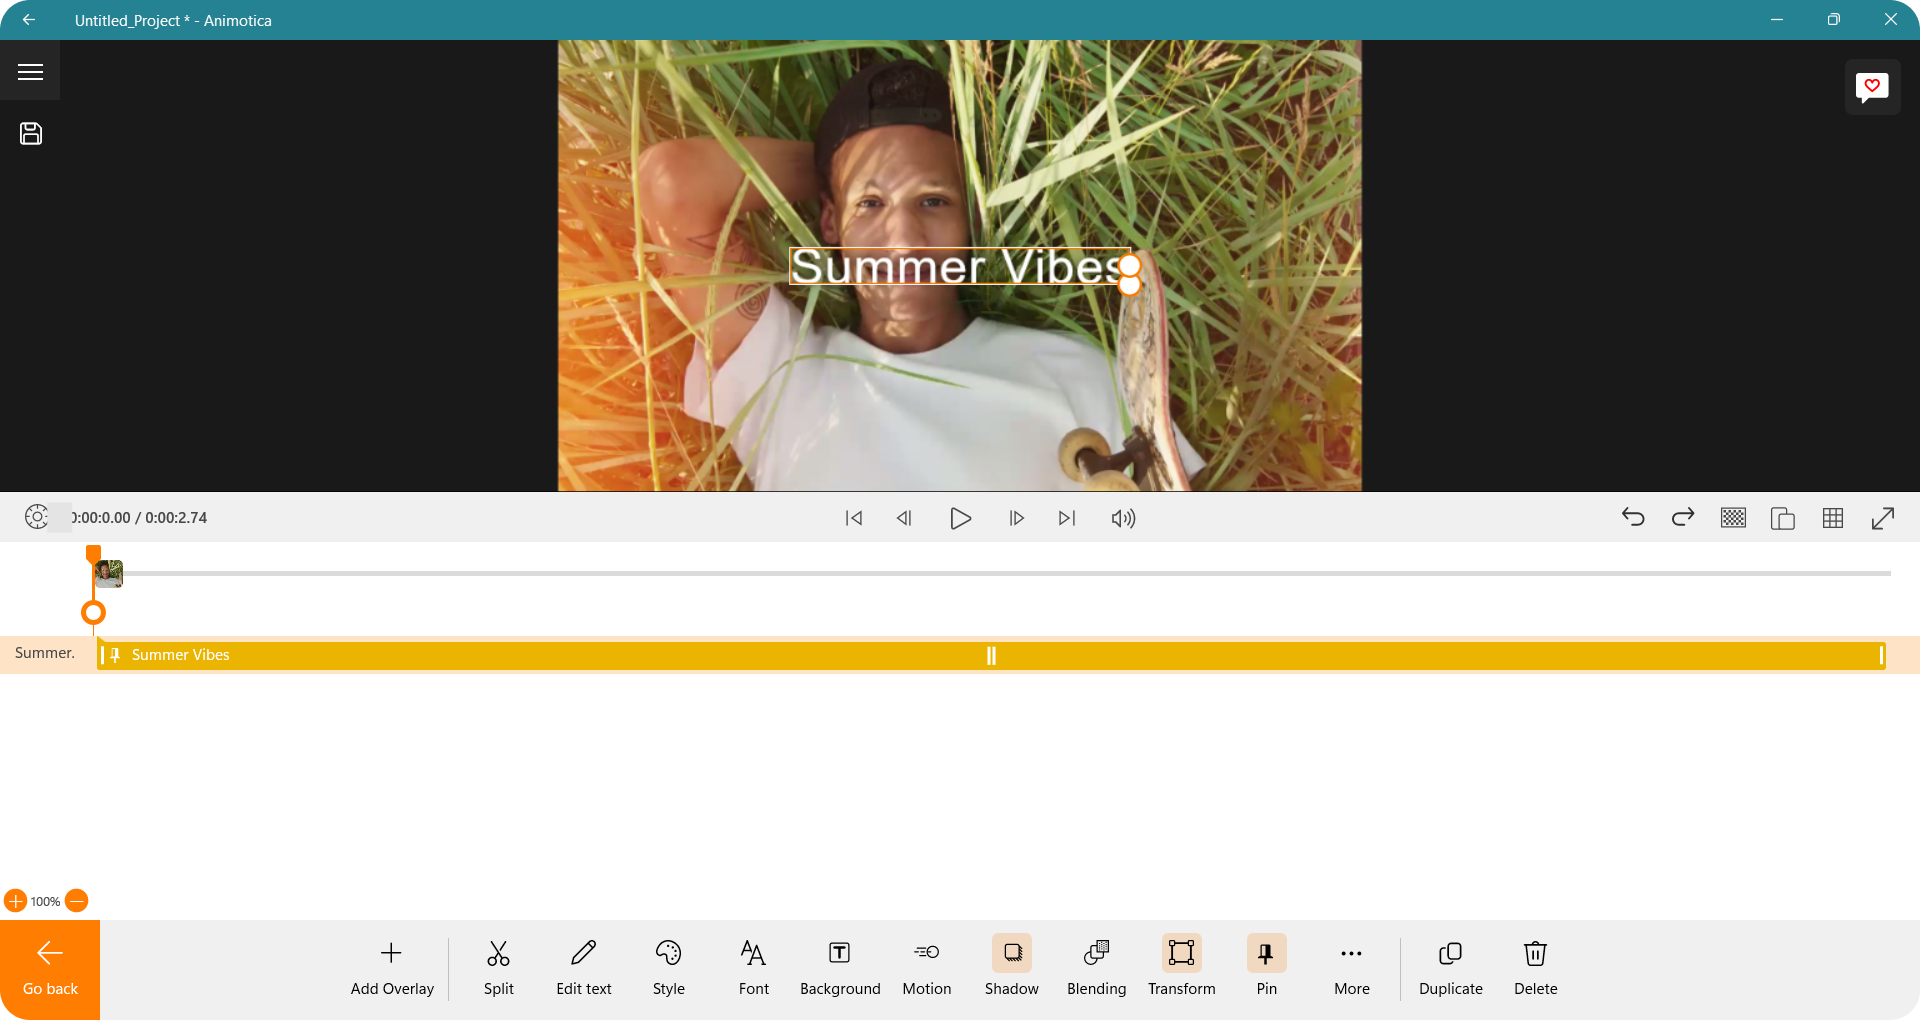
Step 4: Adjust the Size and Placement of Text Overlay
Adjusting the size of your text overlay to perfectly fit your video is the next stride in crafting compelling content with Animotica. The software’s user-friendly interface makes the process not only swift but also empowering for both professionals and beginners alike.
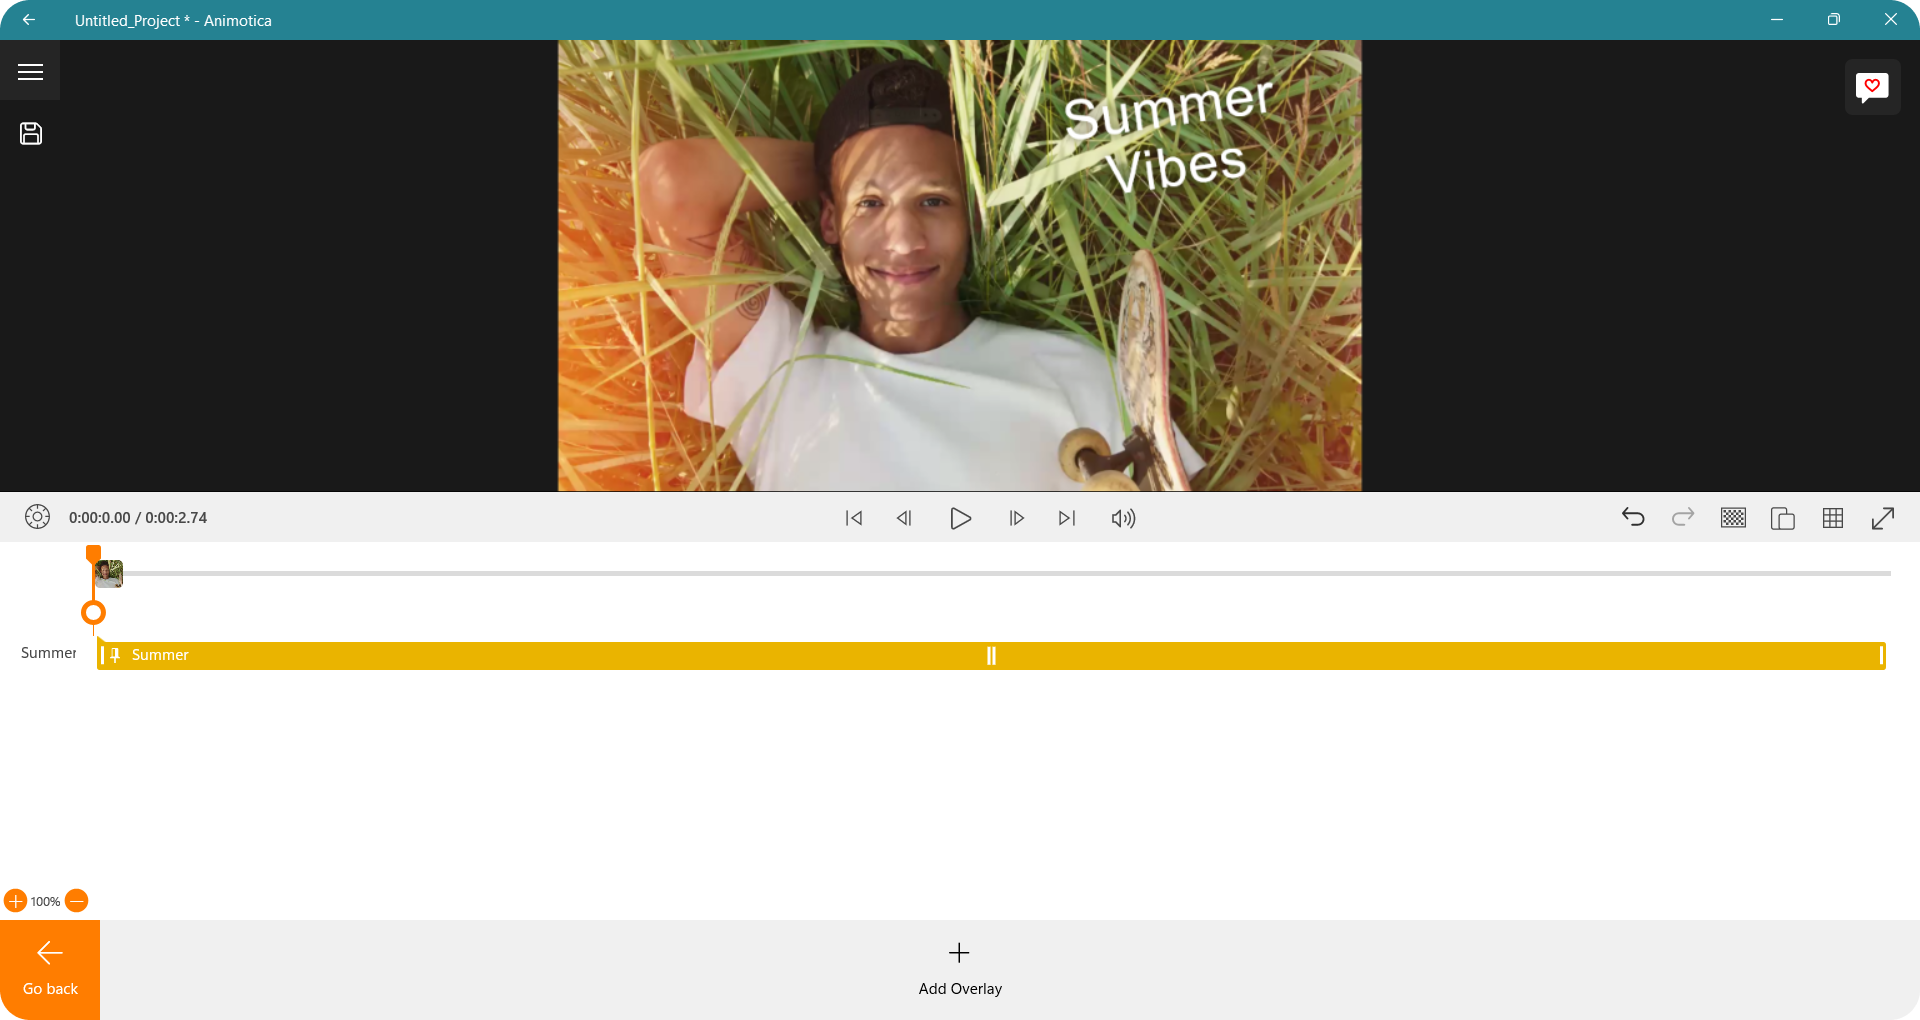
To get your text overlay scaling right, you might need to do a bit of resizing. This task is effortlessly manageable. Simply click on the text overlay in your video preview, and a customizable box will show up around your text. This box comes with handles you can adjust to resize your text overlay. Continue finessing until your overlay aligns seamlessly with your video.
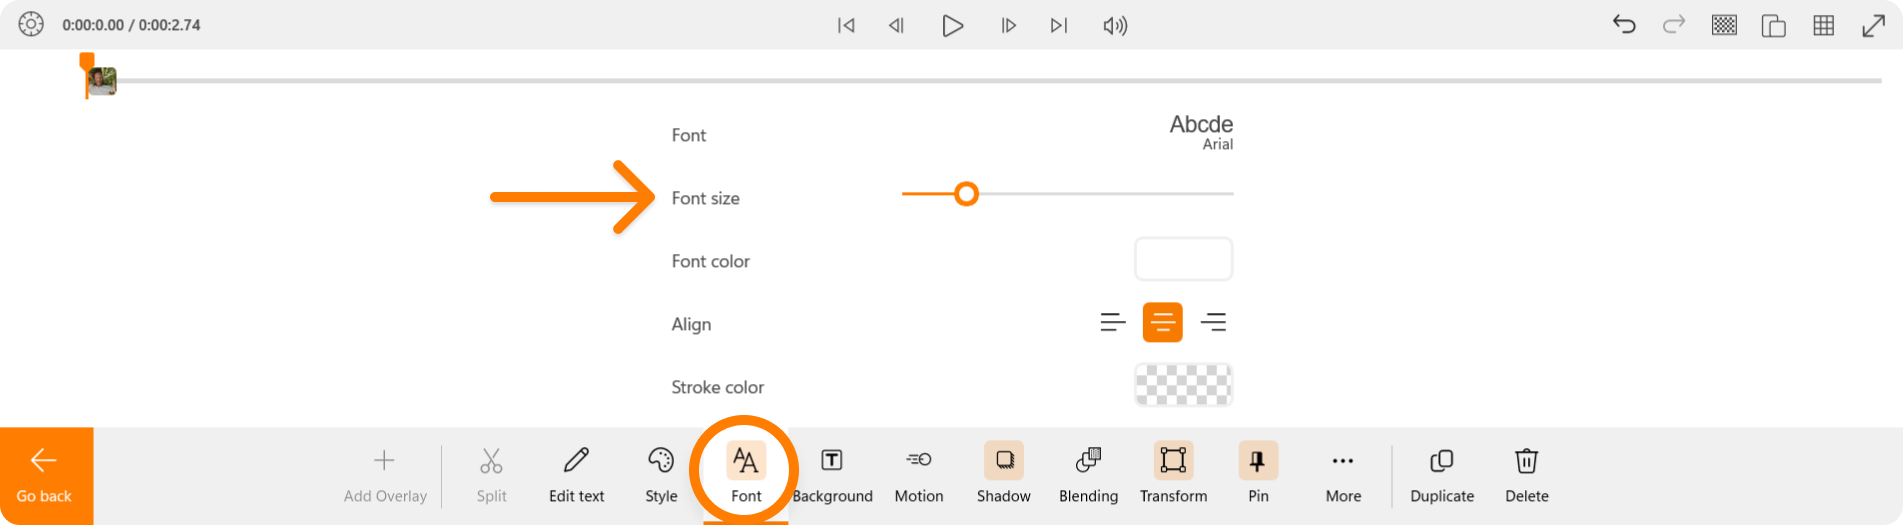
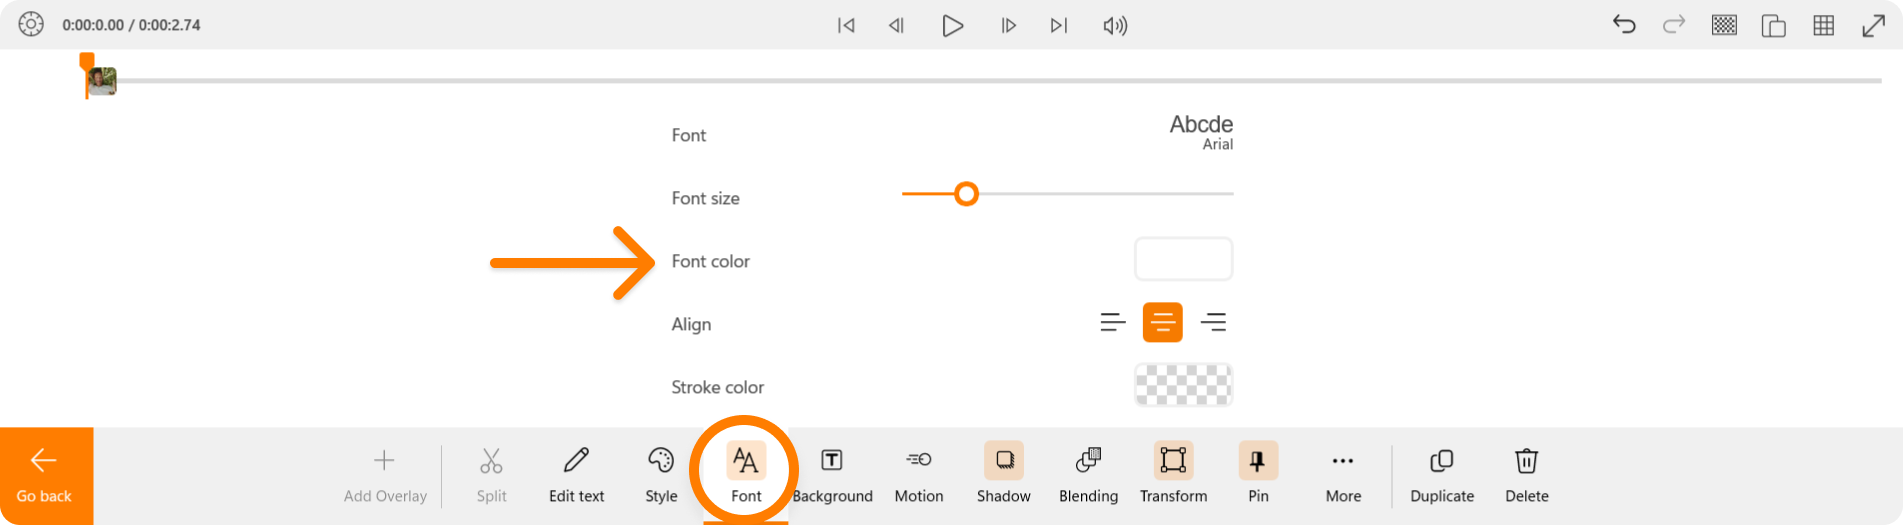
Step 5: Select the text style
Unlock the full potential of your text overlays by editing their attributes according to your video aesthetic. Within Animotica, you have the flexibility to design unique and visually striking texts, maximizing the impact of your message.
You have the option to diversify the text size depending on the requirements of your video content. Want to emphasize a statement or a word? Try upsizing the font to draw viewers’ attention instantly. Or maybe you want to add a subtle message? A smaller-sized font would work perfectly for that.
The color edits permissible in Animotica offer even greater room for creativity and impact. Choose colors that match your brand or the mood of your video. Contrasting colors can help text stand out against the video background and augment readability.
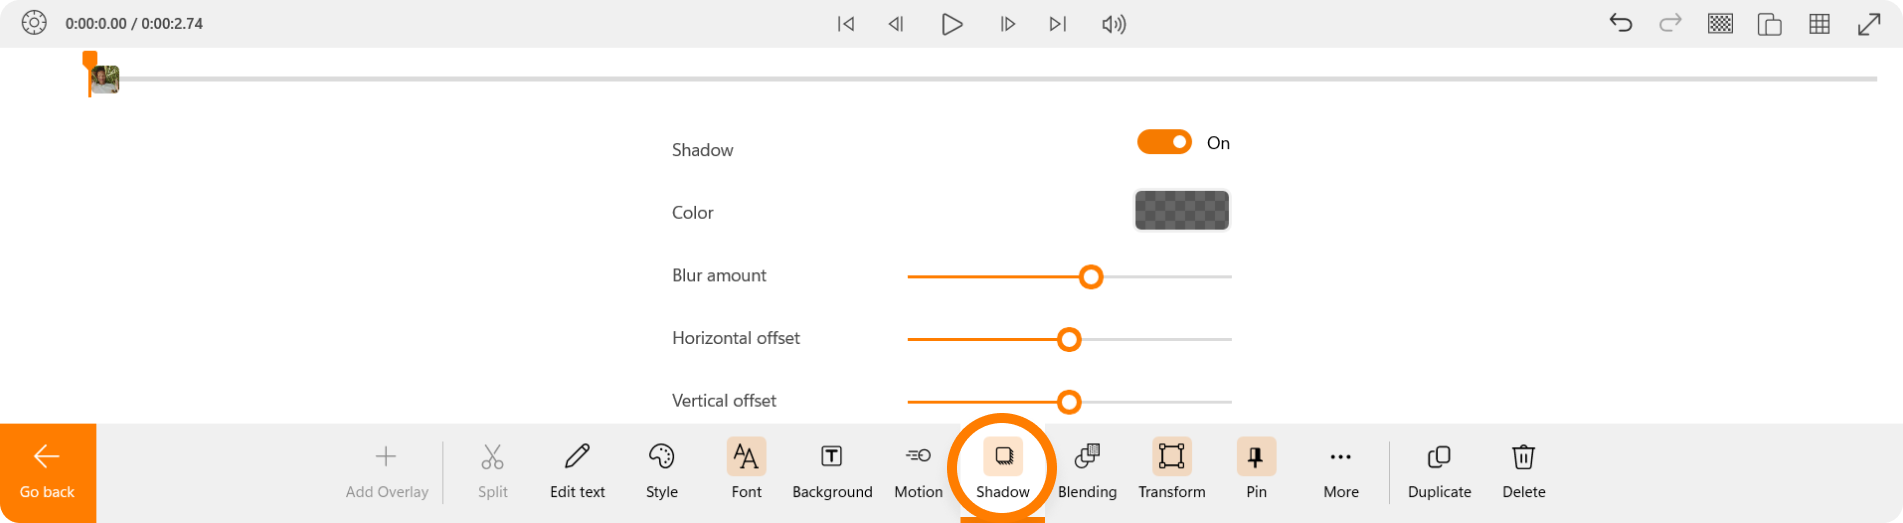
For a more sophisticated look, add a shadow to your text overlays. Shadows on text help to make your content more legible and clear, especially if your video’s background is busy or colorful.
In addition to these static edits, you can bring your text to life by applying a motion effect. This can add an extra level of dynamism to your video, keeping your audience engaged and attentive to your messages. From slow, aesthetic movements to quick, eye-catching sweeps, Animotica provides a range of motions for you to explore and experiment with.

With Animotica, you are not just adding text; you are creating a holistic visual experience that speaks to your audience in a highly personalized way.
Step 6: Apply Additional Editing [Optional]
While our primary focus here is adding text to videos, Animotica offers a multitude of diverse features for creating standout content. Feel free to explore these additional options and elevate your video editing skills even further.
Let’s say you want to add more dynamism and vibrancy to your clips. With Animotica, you can add GIFs to your videos in just a few clicks. Incorporate relevant GIFs into your content to sprinkle in some fun. They’re a great way to add humor, express emotions, or make certain points more memorable.
Besides text and GIFs, stickers are another powerful way to communicate visually in your videos. Need a quick and easy guide on this? Our step-by-step tutorial on’ How to Add Stickers to Videos on PC’ should have you covered.
Moreover, with Animotica, you can dive deeper into customization by changing the background of your videos with Chroma Key. This simple trick can completely alter the vibe and context of your footage. To learn how check out our informative guide on ‘How To Change the Background of Your Video on Windows.’
Remember, the magic of video editing lies in experimentation. So, don’t hold back—explore the multifaceted features of Animotica, tweak different settings, and observe their impact. Discover the perfect blend of text elements to bring unique charm to your videos.
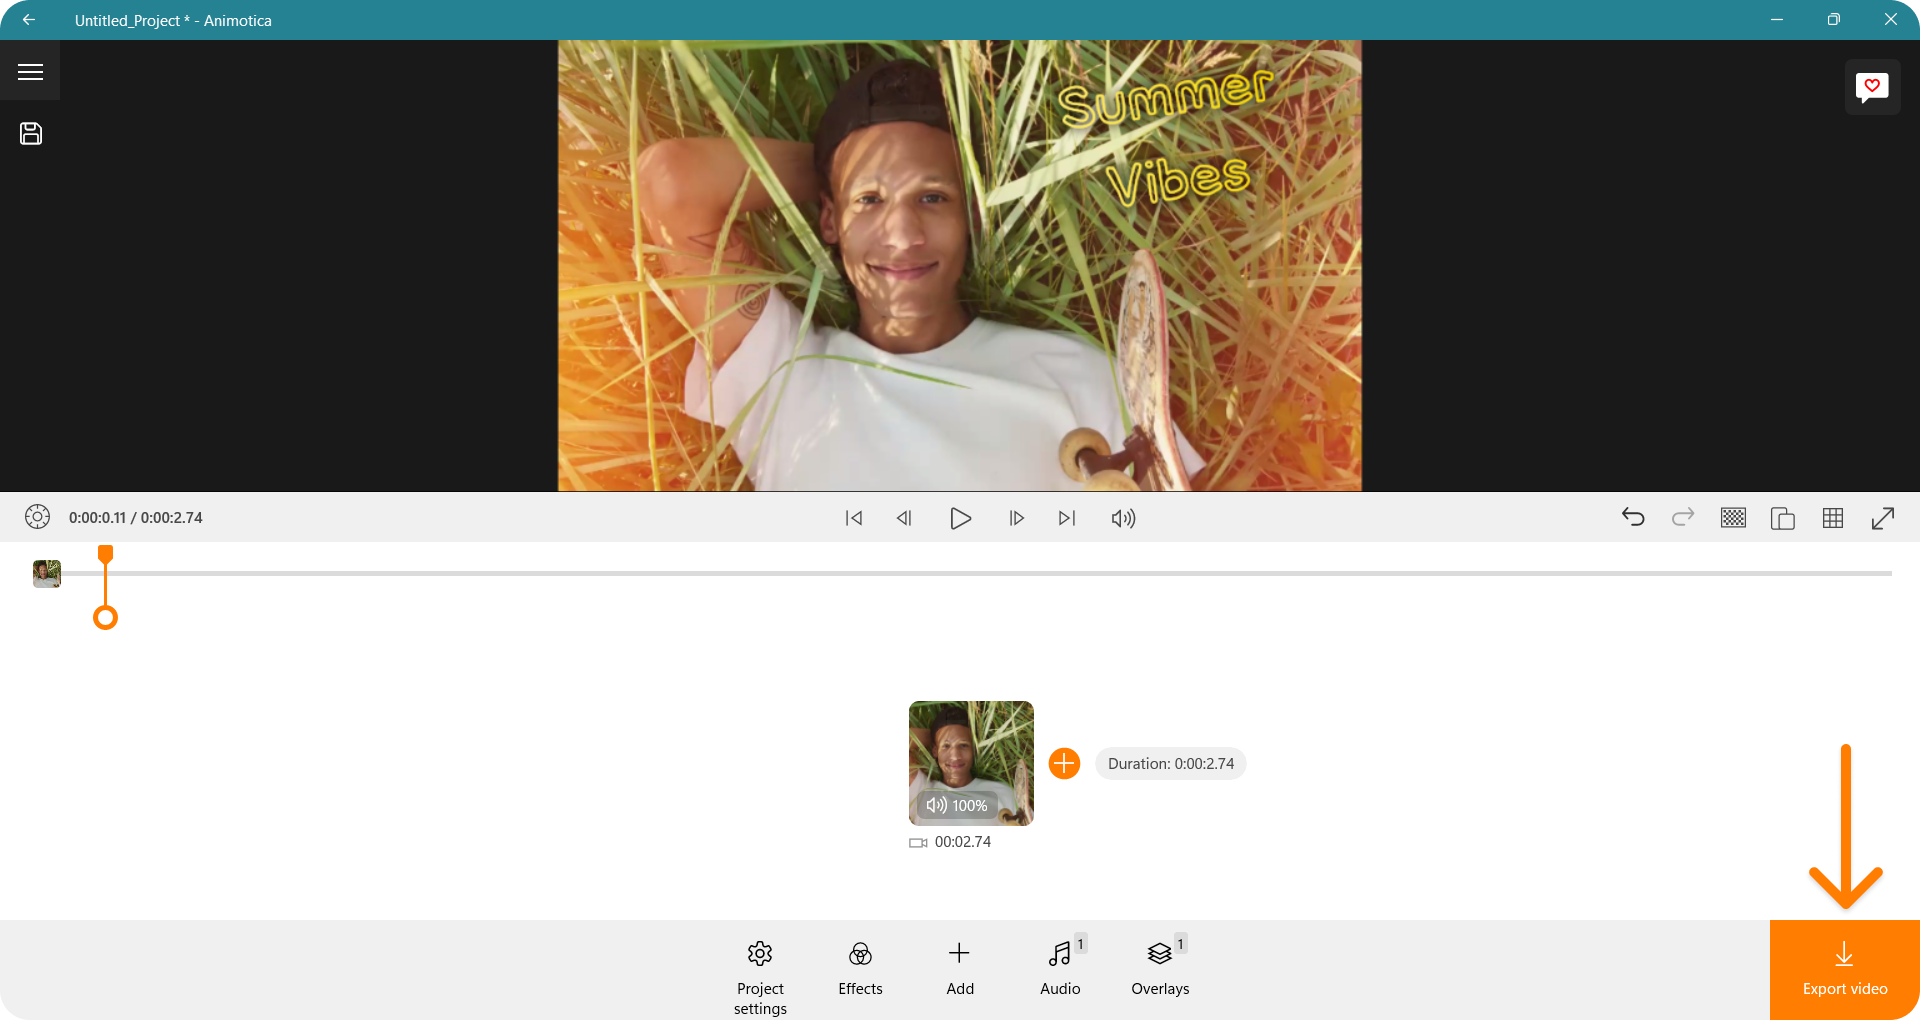
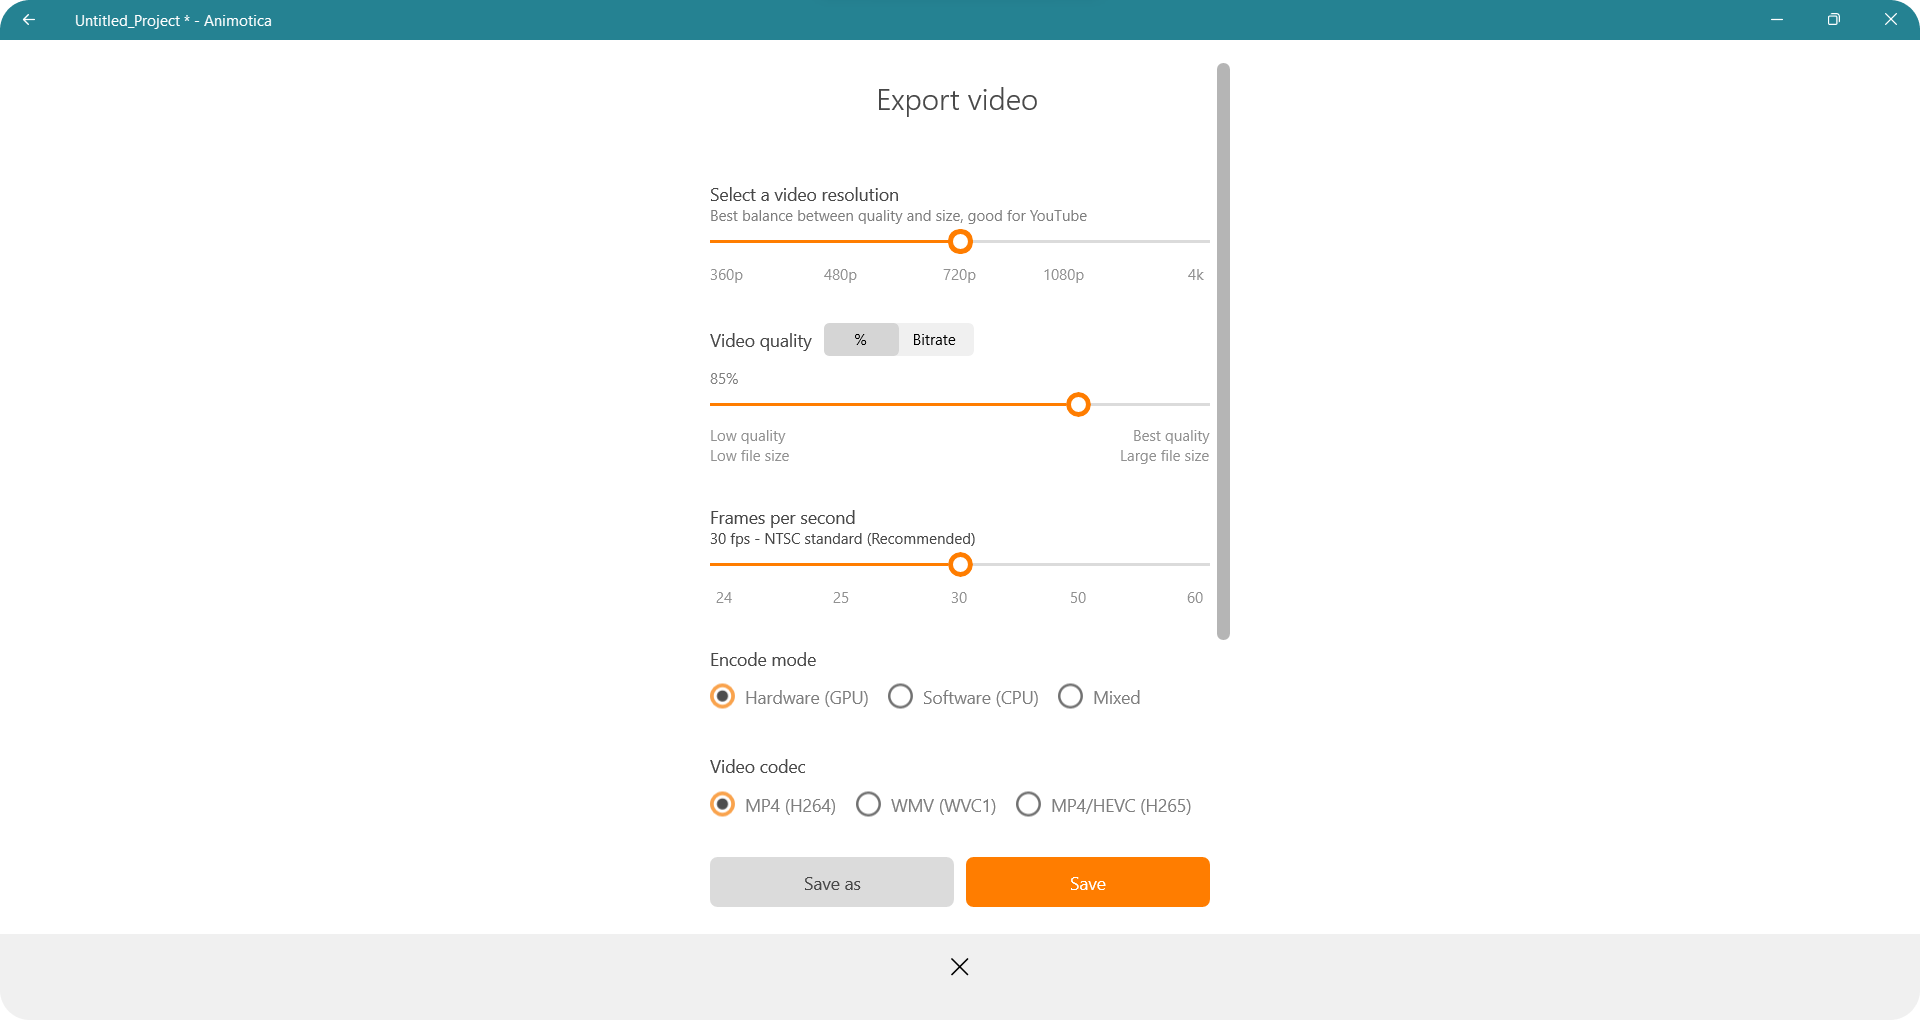
Step 7: Export Your Video with a Text Overlay
Once you’ve incorporated engaging text overlays to your video using Animotica’s simplified features, it’s time to bring it to your audience. However, before that, the final step of exporting your video comes into play. Following are the simple steps to complete this task:
- Find ‘Export Video’, located in the bottom right corner of your screen. A variety of options await you.
- Decide on the quality and format. Animotica offers a broad range of options, including HD, Full HD, and 4k, along with popular formats like .mp4. Make sure your selection meets the requirements of your video’s purpose.
- Click on ‘Save As’ to designate a preferred save location for your file.
With these steps, Animotica compiles all your creativity into one enigmatic video, ready to entice your viewers. The time taken to produce the video primarily depends on the selected quality and the video size. But one thing’s for sure, the output video will be finely tuned and blended, ready to charm your audience.
Remember, the selected video file quality and format play a crucial role in the final output. This necessitates picking the settings that reflect your requirements. For example, if you are creating content aimed at YouTube, the highest resolution settings would be ideal, but if storage space or upload timing is a predicament, choosing a lower video quality could be a smart move.
What’s Next?
You’re ready to go with the steps and insights you have now. Adding compelling text to your videos using Animotica on your PC can now be a smooth process. Remember, learning never ends, especially in this ever-evolving world of content creation.
Animotica is here to help you keep up with new trends and techniques with our free newsletter about video editing. If you’re an enthusiastic content creator, it’s perfect for you.
Don’t forget how important text overlays are in making your content accessible to everyone. Like YouTube emphasizes catchy titles and thumbnails, your videos, too, need to cater to all viewers.
In this competitive digital space, it’s crucial to stay updated with the latest keyword trends and strategies. Don’t be afraid to revise and adapt your strategies based on their effectiveness. Remember, learning from trial and error is key to success.
FAQ
What is the best free software to add text to a video?
Amongst the plethora of software for adding text to videos, Animotica stands out. It’s user-friendly, versatile, and wallet-friendly—a triad that’s a big win for beginners in video editing.
Animotica offers a myriad of text customization options. Users can choose from a variety of fonts, colors, styles, and animations, resulting in beautiful text overlays that can be timed and placed anywhere in the video. This capability enriches educational materials, product demos, and social media clips.
Aside from text editing, Animotica also hosts a range of video-enhancing tools, making it a multifunctional solution. You can export your videos in multiple formats for easy sharing and uploading. This has made Animotica a top pick among content creators and marketers.
Famous video editors like Adobe Premiere and Filmora offer a broad spectrum of advanced features. But they can be intimidating for beginners and require quite an investment of time to master.
In contrast, Animotica provides a simple, welcoming interface for novices packed with a potent suite of tools for seasoned video creators. Plus, it’s more affordable, which makes it a great option for content creators on a budget.
Dipping your toes into video editing with Animotica not only demystifies the basics but also spurs creativity in designing your text overlays. This, in turn, improves the quality of your videos and helps you garner more user engagement.
How can I use text for storytelling in my videos?
Text elements can be used innovatively to propel your video’s narrative, make the delivery of your message more impactful, and create an emotional connection with your audience. Let’s delve deeper into how you can use text for storytelling in your videos.
Firstly, effectively using sequence titles can help control the flow and pacing of your storyline. Much like a chapter in a book or an act in a play, these text labels can divide your video into manageable chunks, each advancing the story in a specific manner.
Another technique is to use text screenshots or pop-ups to disclose a plot point. This works exceptionally well when a piece of written communication, such as a letter or chat dialogue, is central to your story. Animotica allows you to create these pop-ups successfully, helping engage your audience’s curiosity and build anticipation.
Using text captions to provide character insights is a unique way to deepen your storytelling. These can reveal a character’s thoughts, background, or emotional state, adding a layer of complexity to your narrative.
Lastly, don’t underestimate the power of a compelling call-to-action (CTA) at the end of your video. A well-crafted CTA can serve as an excellent conclusion to your story, stimulating viewers to take the next step, be it subscribing to your channel, visiting your website, or downloading a resource.
So whether it’s setting the stage, controlling pacing, revealing important elements, providing character insight, or delivering a stirring conclusion, the strategic use of text in your videos can significantly enhance your storytelling and audience engagement.