Perhaps, there is a special day around the corner, and you’re eager to make it stand out by trying something completely different.
If you want to make a video, great idea! But, can you really make a video without recording any clips? Absolutely! You can create a video from photos and music, and it’s as easy as pie with a stunning photo to video maker, such as Animotica (for Windows 10/11), or any other alternative to Windows Movie Maker.
This guide will show you how to make a video slideshow using Animotica, since it’s a simple, yet superb Windows 10/11 software, which can help you make fantastic videos in just a few minutes, using pictures and music! You don’t even need any special skills or experience. Just bring your idea, and you’re ready to roll.
If you don’t have it yet, download the Animotica Video Editor for free, and follow these easy steps to create stunning videos with pictures!?

Contents
8 Simple Steps to Make a Video With Music Out of Photos
1. Installing and opening Animotica
This is pretty simple and straightforward. Once you download the software, follow your system’s prompts, and you’ll have your app ready to perform.
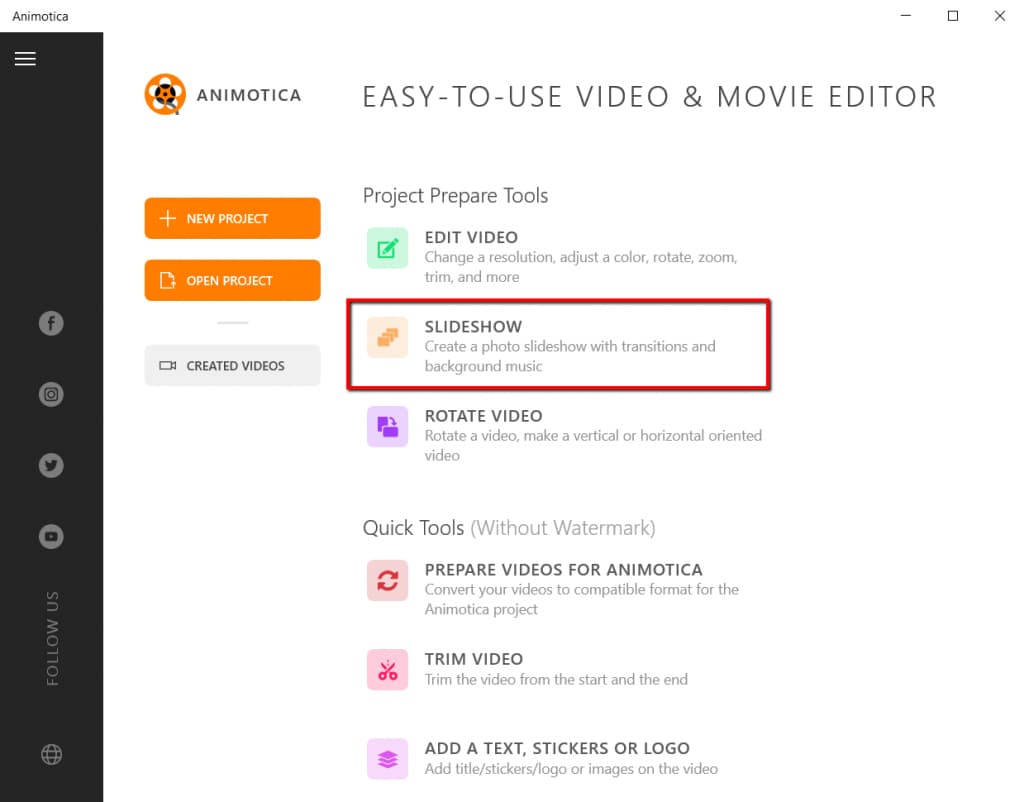
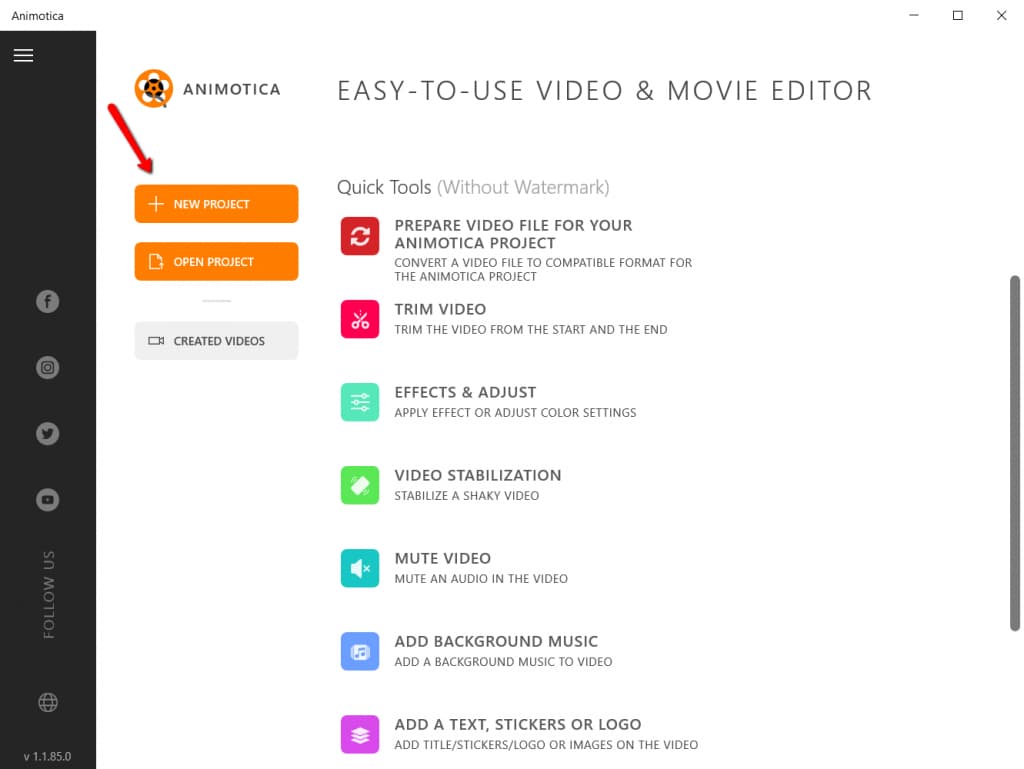
Once you’re done with the installation, open the software, and you’ll see a page like the one below. You have two ways here, either start a project from scratch or select ‘Slideshow’ features, that will basically guide you through the process.
Let’s see how it works.
2. Select Slideshow features
When you hit Slideshow on the first screen, it takes you to a new window where you can add your images.
3. Select photos for your video slideshow
Click Add Photo.
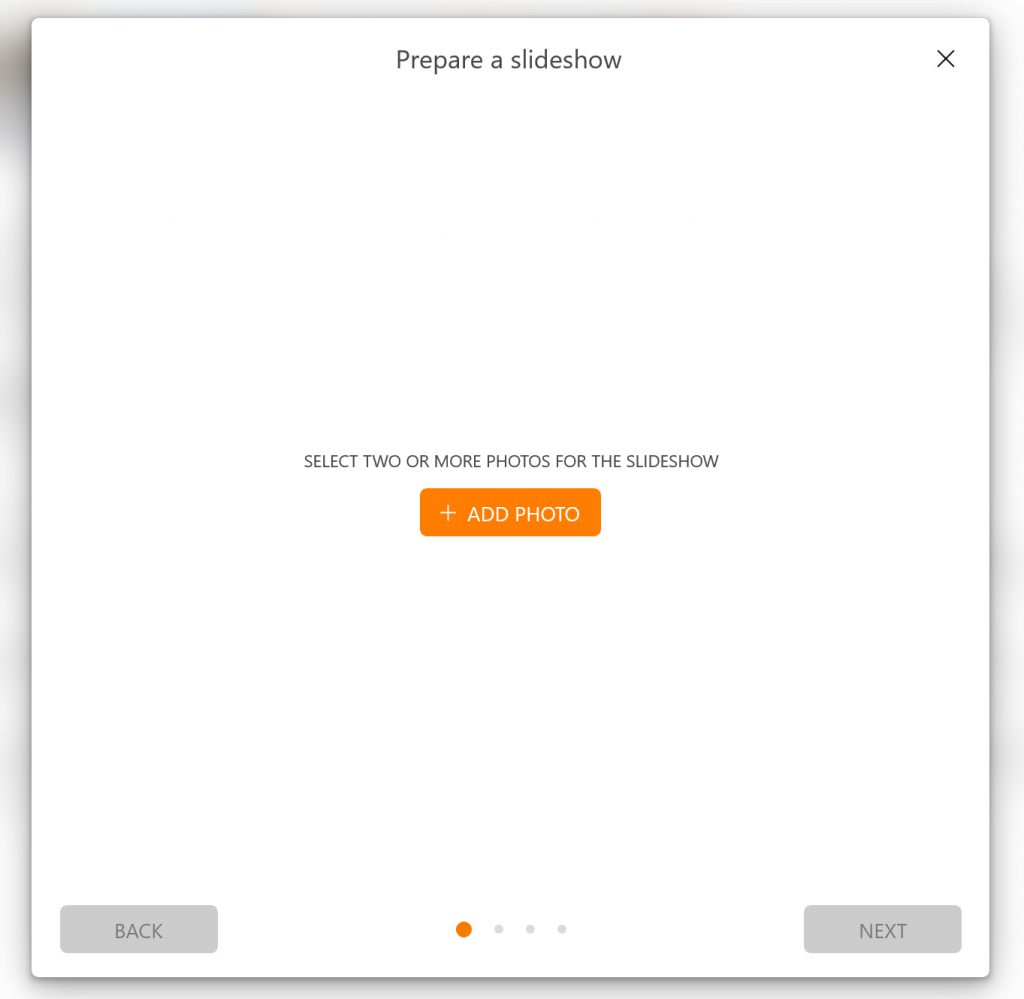
This will take you to your storage area. Navigate to where you’ve stored your images. It’s best to have all these images in the same folder. Select all the required pictures and hit next.
4. Rearrange the order of your images
At this point, you can rearrange the images in your desired order by simply dragging them to your desired position.
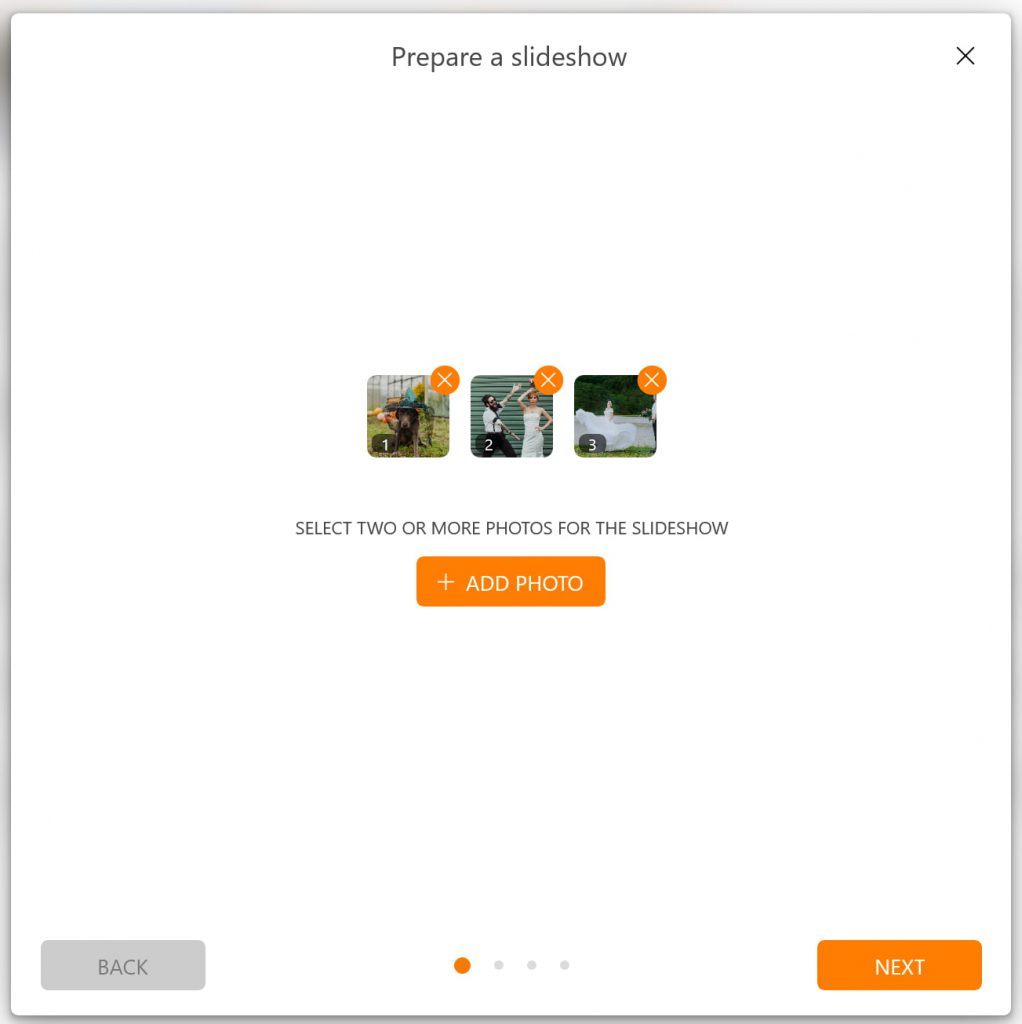
Once you’re done, hit Next.
5. Spice Up your Video with a Lovely Audio Track
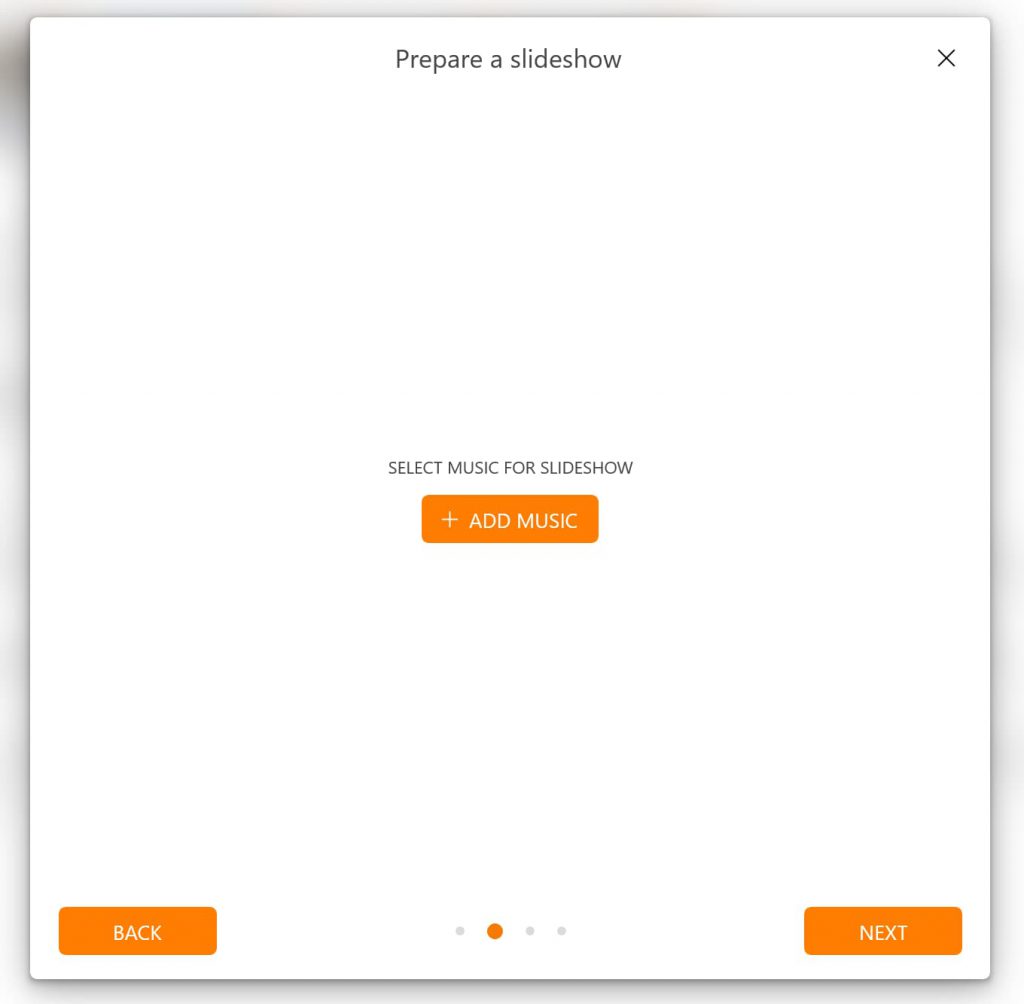
You can add music to your video by selecting some fun audio tunes from Animotica’s library, or you can choose your desired music from your PC’s storage. Simply click on Music.
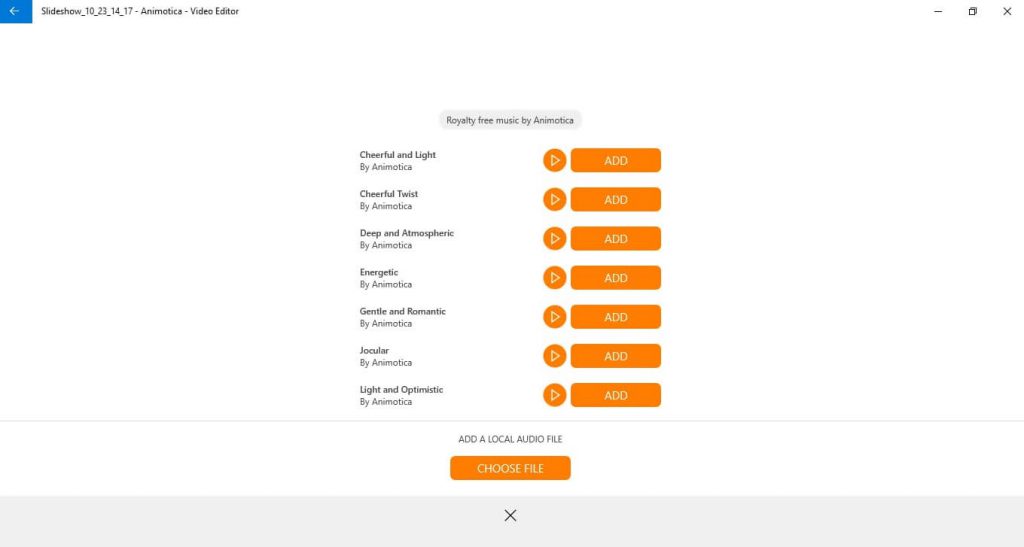
The next window shows you a list of music from the library, and also a chance to add a local audio file.
If you’d like to choose a music file you have in your local storage, then what are you waiting for? Hit Choose File!
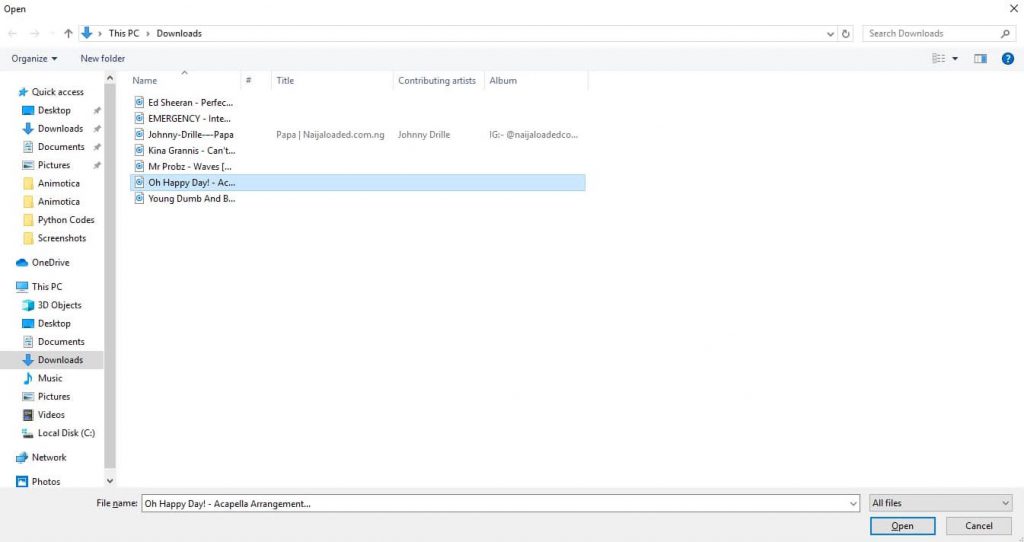
Once you hit Choose File, you will get to your local storage area, navigate to where you have stored your music file, select your music and hit Open.
If you don’t have desirable music on your PC, you can download one for free from one of these websites. On the new window, hit Next.
6. Add transition effects to your video slideshow
As simple as it is, just select one of the over 50 transition effects for your video slideshow.
A video transition effect is the way your photos will be changed from one to the next one in the order in the final video. Here are some tips about video transitions for you to explore.
7. Select aspect ratio and video duration
At this step, you can select the aspect ratio of your final slideshow. In simple words, the aspect ratio is the proportion of the sides of your video. Read more about aspect ratio here.
Keep in mind, that some images might be cut in case if the original aspect ratio is different from the one you set for your slideshow. Check out this blog to see the best practices on how to adjust the aspect ratio of your images efficiently.

At the same step, you can select the total duration of your video slideshow – it’s shown as 00:05 = 5 sec on the screenshot above; and the default photo duration – it’s 00:03 = 3 sec on our screenshot. This is the time each of your photos will be shown on the screen in the final video.
You can also click 15 sec, and the duration of the video slideshow will be set automatically.
8. Save your Work!
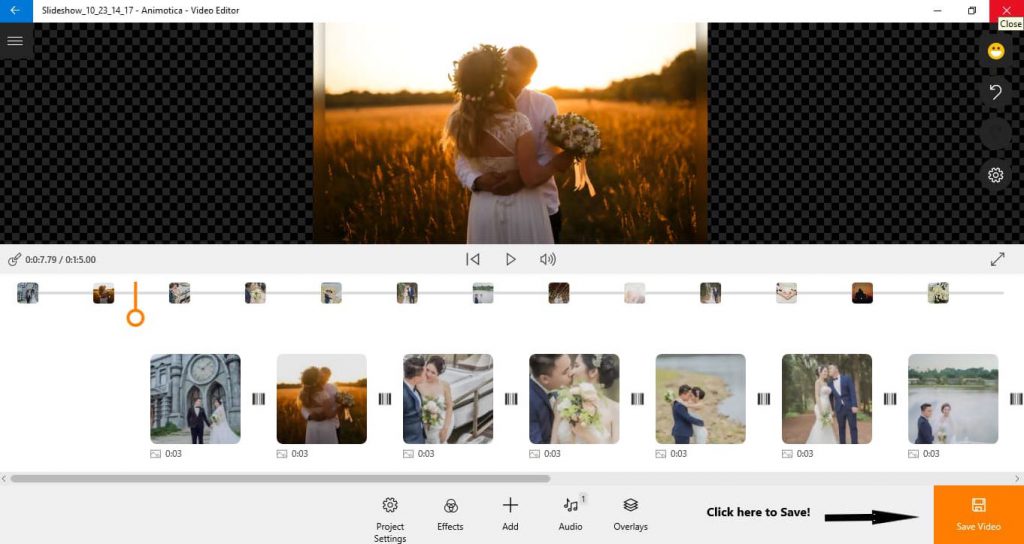
When you hit Save, Animotica takes you to the Export window where you see options for Video Resolution and Bitrate.
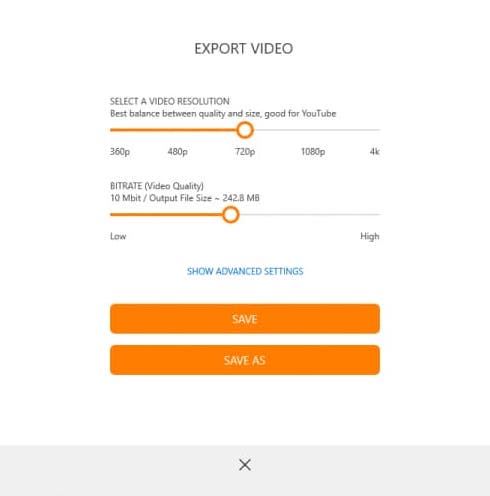
At this point, it’s best you leave everything the way they are, and click Save As. You can learn more about saving your project here.
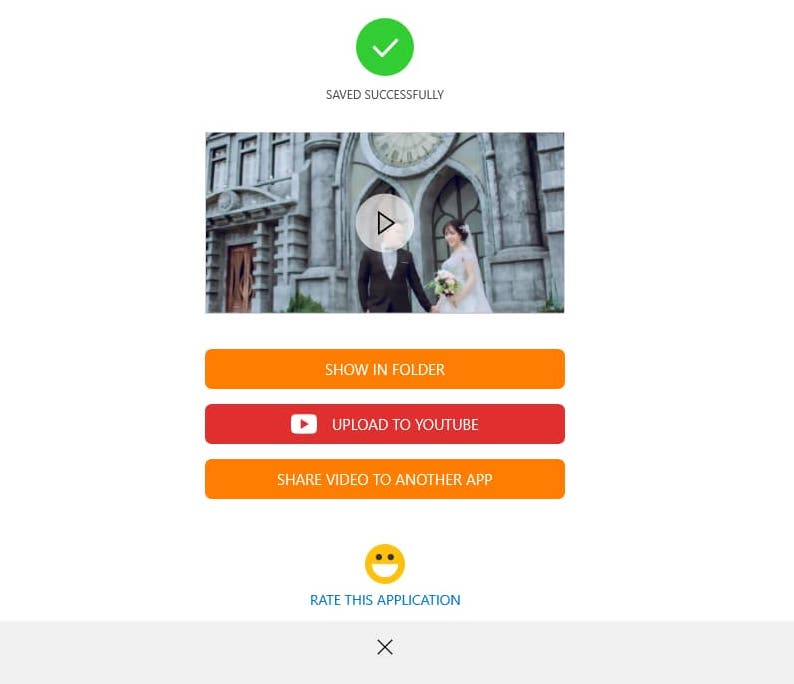
When you hit Save As, you’ll be taken to a window where you can set your desired file name. Once you’re done, hit Save, relax, and watch Animotica take it from there.
After rendering your project, your video is now ready for use! If you run a YouTube channel, you can upload it directly from the app.
Enhance Your Video (optional steps)
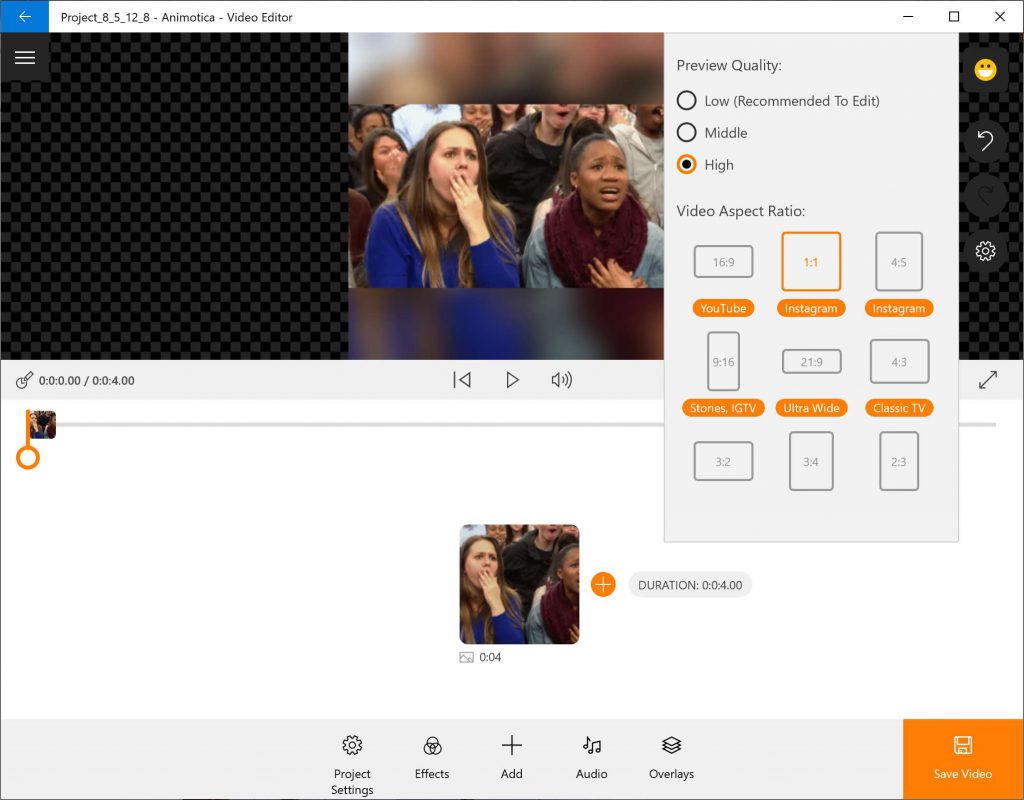
1. Optimize your Video for Your Favorite Platform with Aspect Ratio
If you’re looking to upload your video to YouTube or Instagram, or you just want to play it on your TV screen, you can optimize your video for that by selecting a suitable aspect ratio even after you finished creating a video slideshow with the aspect ratio selected. Don’t worry. You do not have to figure it all out by yourself, because Animotica has a set of self-explanatory options to help you decide right in the video editing screen as you can see on the screenshot below.
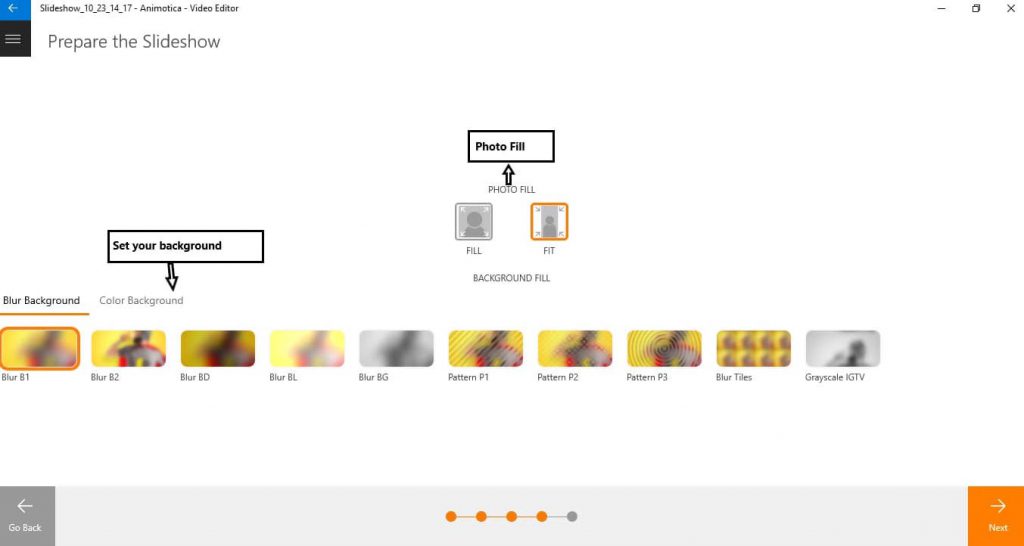
2. Set your Photo and Background Fill
This is pretty easy and straightforward. It’s advisable to leave the Photo Fill option the way it is. But if you want the images to fill up the screen, choose Fill. If you want them to fit just right, choose Fit.
You can also pick from the wide range of Background Fill options. The Background Fill comes in two categories, Blur Background and Color Background. Make your choice from these and hit Next. Learn more about how to change the video background.
3. Fine Tune your Video with Some Extra Touches
By now, your video is ready to be exported. But you can always take things a little further and have fun experimenting with Animotica’s extra features such as transitions, overlays, audio fades, and much more! But if you’re pretty much satisfied with what you have, cool!
If you feel comfortable with the video editing feature, you may want to create a video slideshow in a more customizable mode from scratch. To do that, you can simply select New Project on the first screen of Animotica, and you’re good to go exploring each and every feature of this video editing software.
Last Words
Making videos from photos is no longer stuff for the gurus. With Animotica, you can get this done in a few minutes. Make sure you take your time to check out all the exciting features of the software and hit up our blog for some awesome tutorials which will help you go from zero to hero in no time.
Have fun!
You might also like:
How to Upload Your Vertical Video to YouTube for The First Time
Video Ideas and Tips for Every Day of This Month
How to Get the Best Lighting for Your Videos