
Aspect ratio is a key element in the business of videography. However, as a newbie or wannabe, chances are that you’ve not understood what the term entails and how it helps video marketers tell compelling stories. Regardless, how to change video aspect ratio is a crucial knowledge every video editor should have.
Right here, you will get the idea around what an aspect ratio is, why it matters, and the different acceptable aspect ratios for different platforms—Widescreen, Vertical, Square, etc.!
All these terms are pretty much stuff you come across every day, so I bet it will be fun to finally get to know them. You will also learn how to change aspect ratios, step-by-step, for free!
Sounds interesting? Let’s dive into it!
Contents
What is Aspect Ratio and Why Does it Matter?
The simplest definition of aspect ratio is: The relationship between the width and height of an image.
It basically determines how an image or video is displayed on the viewer’s screen. It is usually denoted in the format “width: height,” using two numbers separated by a colon.
Does 16:9 seem familiar? I bet it does. But that’s a typical expression for the aspect ratio of popular vlogging platform, YouTube.
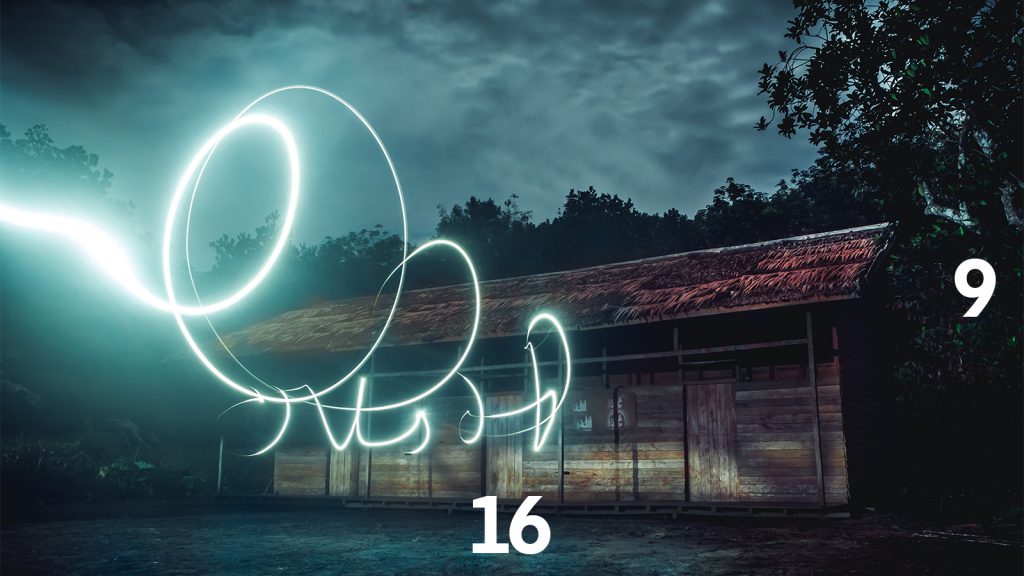
An illustration of what a 16:9 aspect ratio image looks like.
So why does aspect ratio matter in video marketing?
In recent times, video marketing is increasingly becoming omni-channel in nature. This means that video marketers are now tasked with sharing video content across multiple channels and devices at a moment’s notice because all the marketing channels have become more connected than ever.
However, these marketing channels have varying aspect ratios associated with them. Thus, a video clip shot for Instagram TV will not naturally fit into YouTube’s aspect ratio. This will usually result in the appearance of black borders on the sides of your videos, leading to bad viewing experiences.
Your video’s aspect ratio affects your viewers’ experience and, ultimately, your conversion rate.
Thus, it is necessary to format each video’s aspect ratio to suit the platforms where it will be shared.
Top Aspect Ratio Formats and Where to Use them?
There are several aspect ratios available for videographers to explore, from widescreen format to anamorphic. However, we will be paying attention to the essential ones you’d need as a video marketer.
Here they are.
16:9 Format
The 16:9 aspect ratio is also known as the “widescreen” format. This aspect ratio is the international standard format for High Definition Television (HDTV) and is chiefly used on YouTube. The widescreen format is also popular on Facebook, Twitter, and LinkedIn.

16:9 Format. Photo by Stefan Stefancik from Pexels
1:1 Format
Also known as the “square” format, the 1:1 aspect ratio is among the three aspect ratios popular on Instagram.
Specifically, the 1:1 (600 x 600p) aspect ratio is found on the Instagram feed, thus you regularly come across it while scrolling through your Instagram newsfeed. This format also works well on LinkedIn, Twitter, and Facebook, when displayed in 1080 x 1080p.

Photo by Fuan Zhao from Pexels
9:16 Format
This format is termed the “vertical” or “portrait” format and is a direct opposite of the 16:9 aspect ratio. It is very popular in Instagram Stories, Instagram TV (IGTV), TikTok, and Snapchat. It was introduced onto these platforms to optimize the mobile experiences of their users.
YouTube also recently started allowing vertical videos for its mobile users.

9:16 Format Photo by Kirsten Bühne from Pexels
Other aspect ratios worth mentioning include the 4:3 (academic), 21:9 (anamorphic), and 16:10.
How to Change Aspect Ratio in Windows 10
Knowing the various aspect ratios for each platform, how do you ensure that your videos are in line with the different acceptable formats all the time?
There are two ways this can be achieved. You can shoot a single video, changing the aspect ratio to suit the different platforms where you’d be sharing them. Alternatively, you can shoot separate videos with different aspect ratios to be uploaded to corresponding platforms.
The latter gives you a higher quality video clip naturally tailored for specific platforms in mind. However, it is time-consuming.
So, how do you change the aspect ratio of a single video to suit different platforms? It’s simple! And you’ll be learning that in a heartbeat.
The first step will be to download Animotica, our easy-to-use, feature-rich video editor. Download it here for free.
Done? Good! Let’s proceed to the next steps.
Step 1: Open Animotica
If you’ve already downloaded Animotica, open the software and select Edit Video. On the new window, click on Select Video File. Navigate to your storage area, locate your video, and hit Open.
You will be taken to your project window, where you can easily change your aspect ratio.
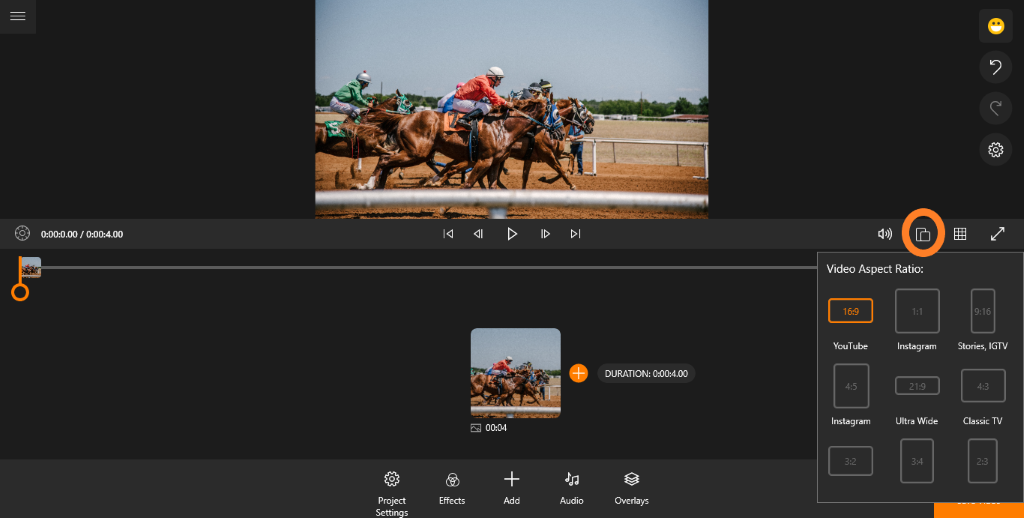
Step 2: Change Your Aspect Ratio
Just tap on the icon circled below. You’ll find a bunch of aspect ratios and the suitable platforms already outlined for you.
Select the appropriate aspect ratio and take a look at the preview screen. You will probably notice that some parts of the clip have vanished. This is because the original picture was shot in a different aspect ratio, and adjusting the dimensions meant cropping out parts of the clip.
But there is a way around this, and that will be addressed in the next step!
Step 3: Apply Fit/Fill
To reveal all parts of the clip while maintaining your chosen aspect ratio, you’ll need to use the fit/fill tool. Just tap on the thumbnail under the preview screen to reveal a bunch of editing options.
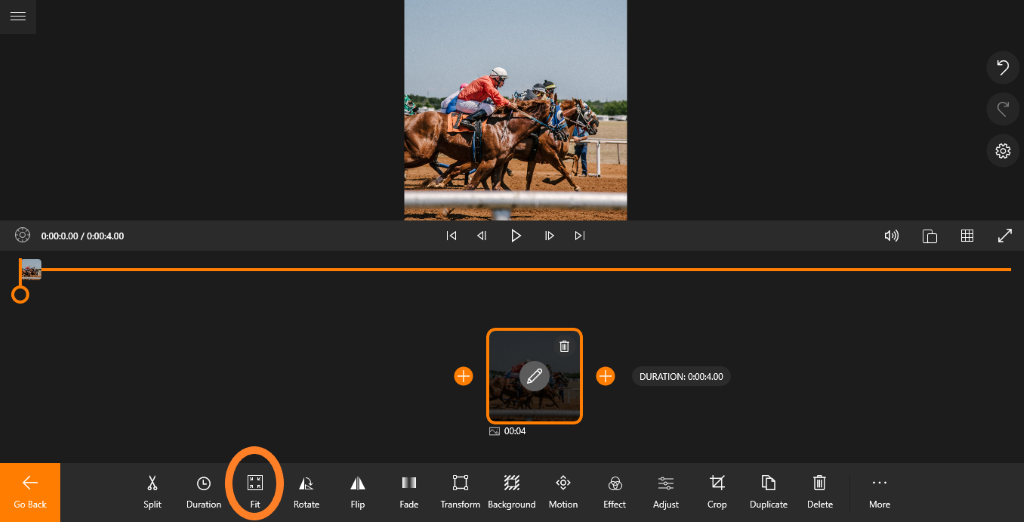
Locate and tap on the Fit/Fill button accordingly. In this case, the tool will fit the entire image into the new aspect ratio, replacing the spaces with a background.

Hit Go Back.
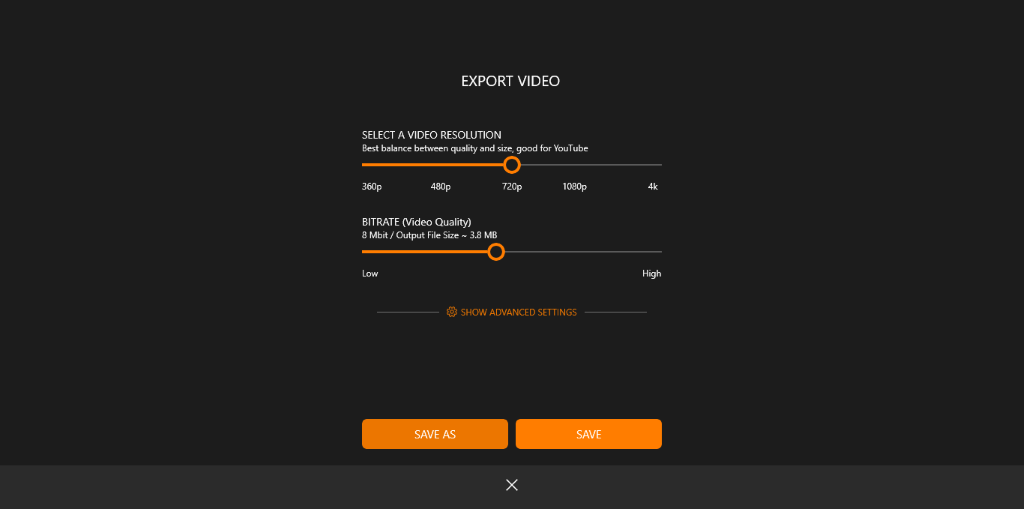
Step 4. Save
Feel free to polish up the video a bit more with Animotica’s superb editing options such as background, effects, motion, fade, etc.
But if you feel your video is alright, you can go ahead and hit Save Video.
On the next page, you can leave the parameters just the way they are and hit Save As. Input your desired filename and hit Save.
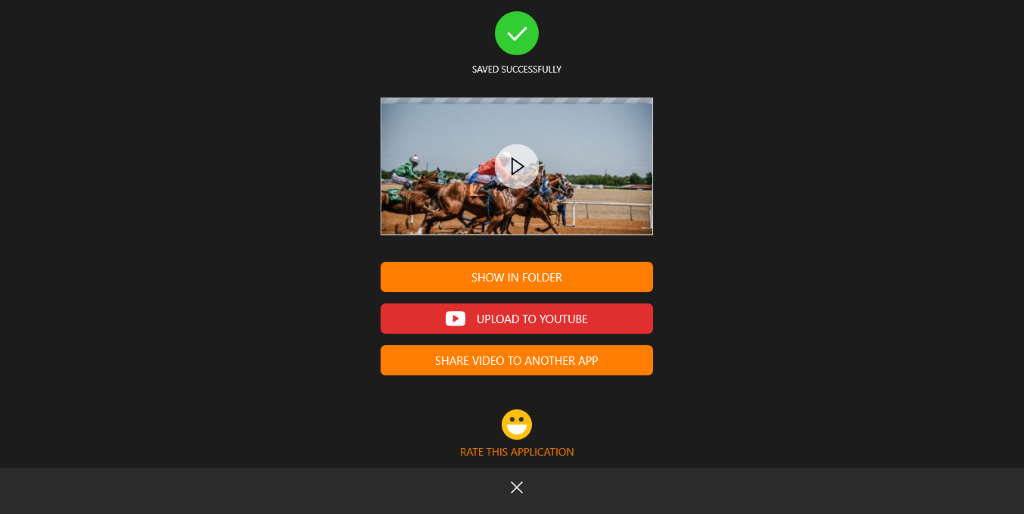
That’s all! Just sit back and let Animotica finish off the job. Once your video is ready, you can share it directly to YouTube!
Conclusion
We hope our guide and software makes it easy for you to change aspect ratios as often as you want.
Here’s also a blog on how to upload vertical videos to YouTube.


